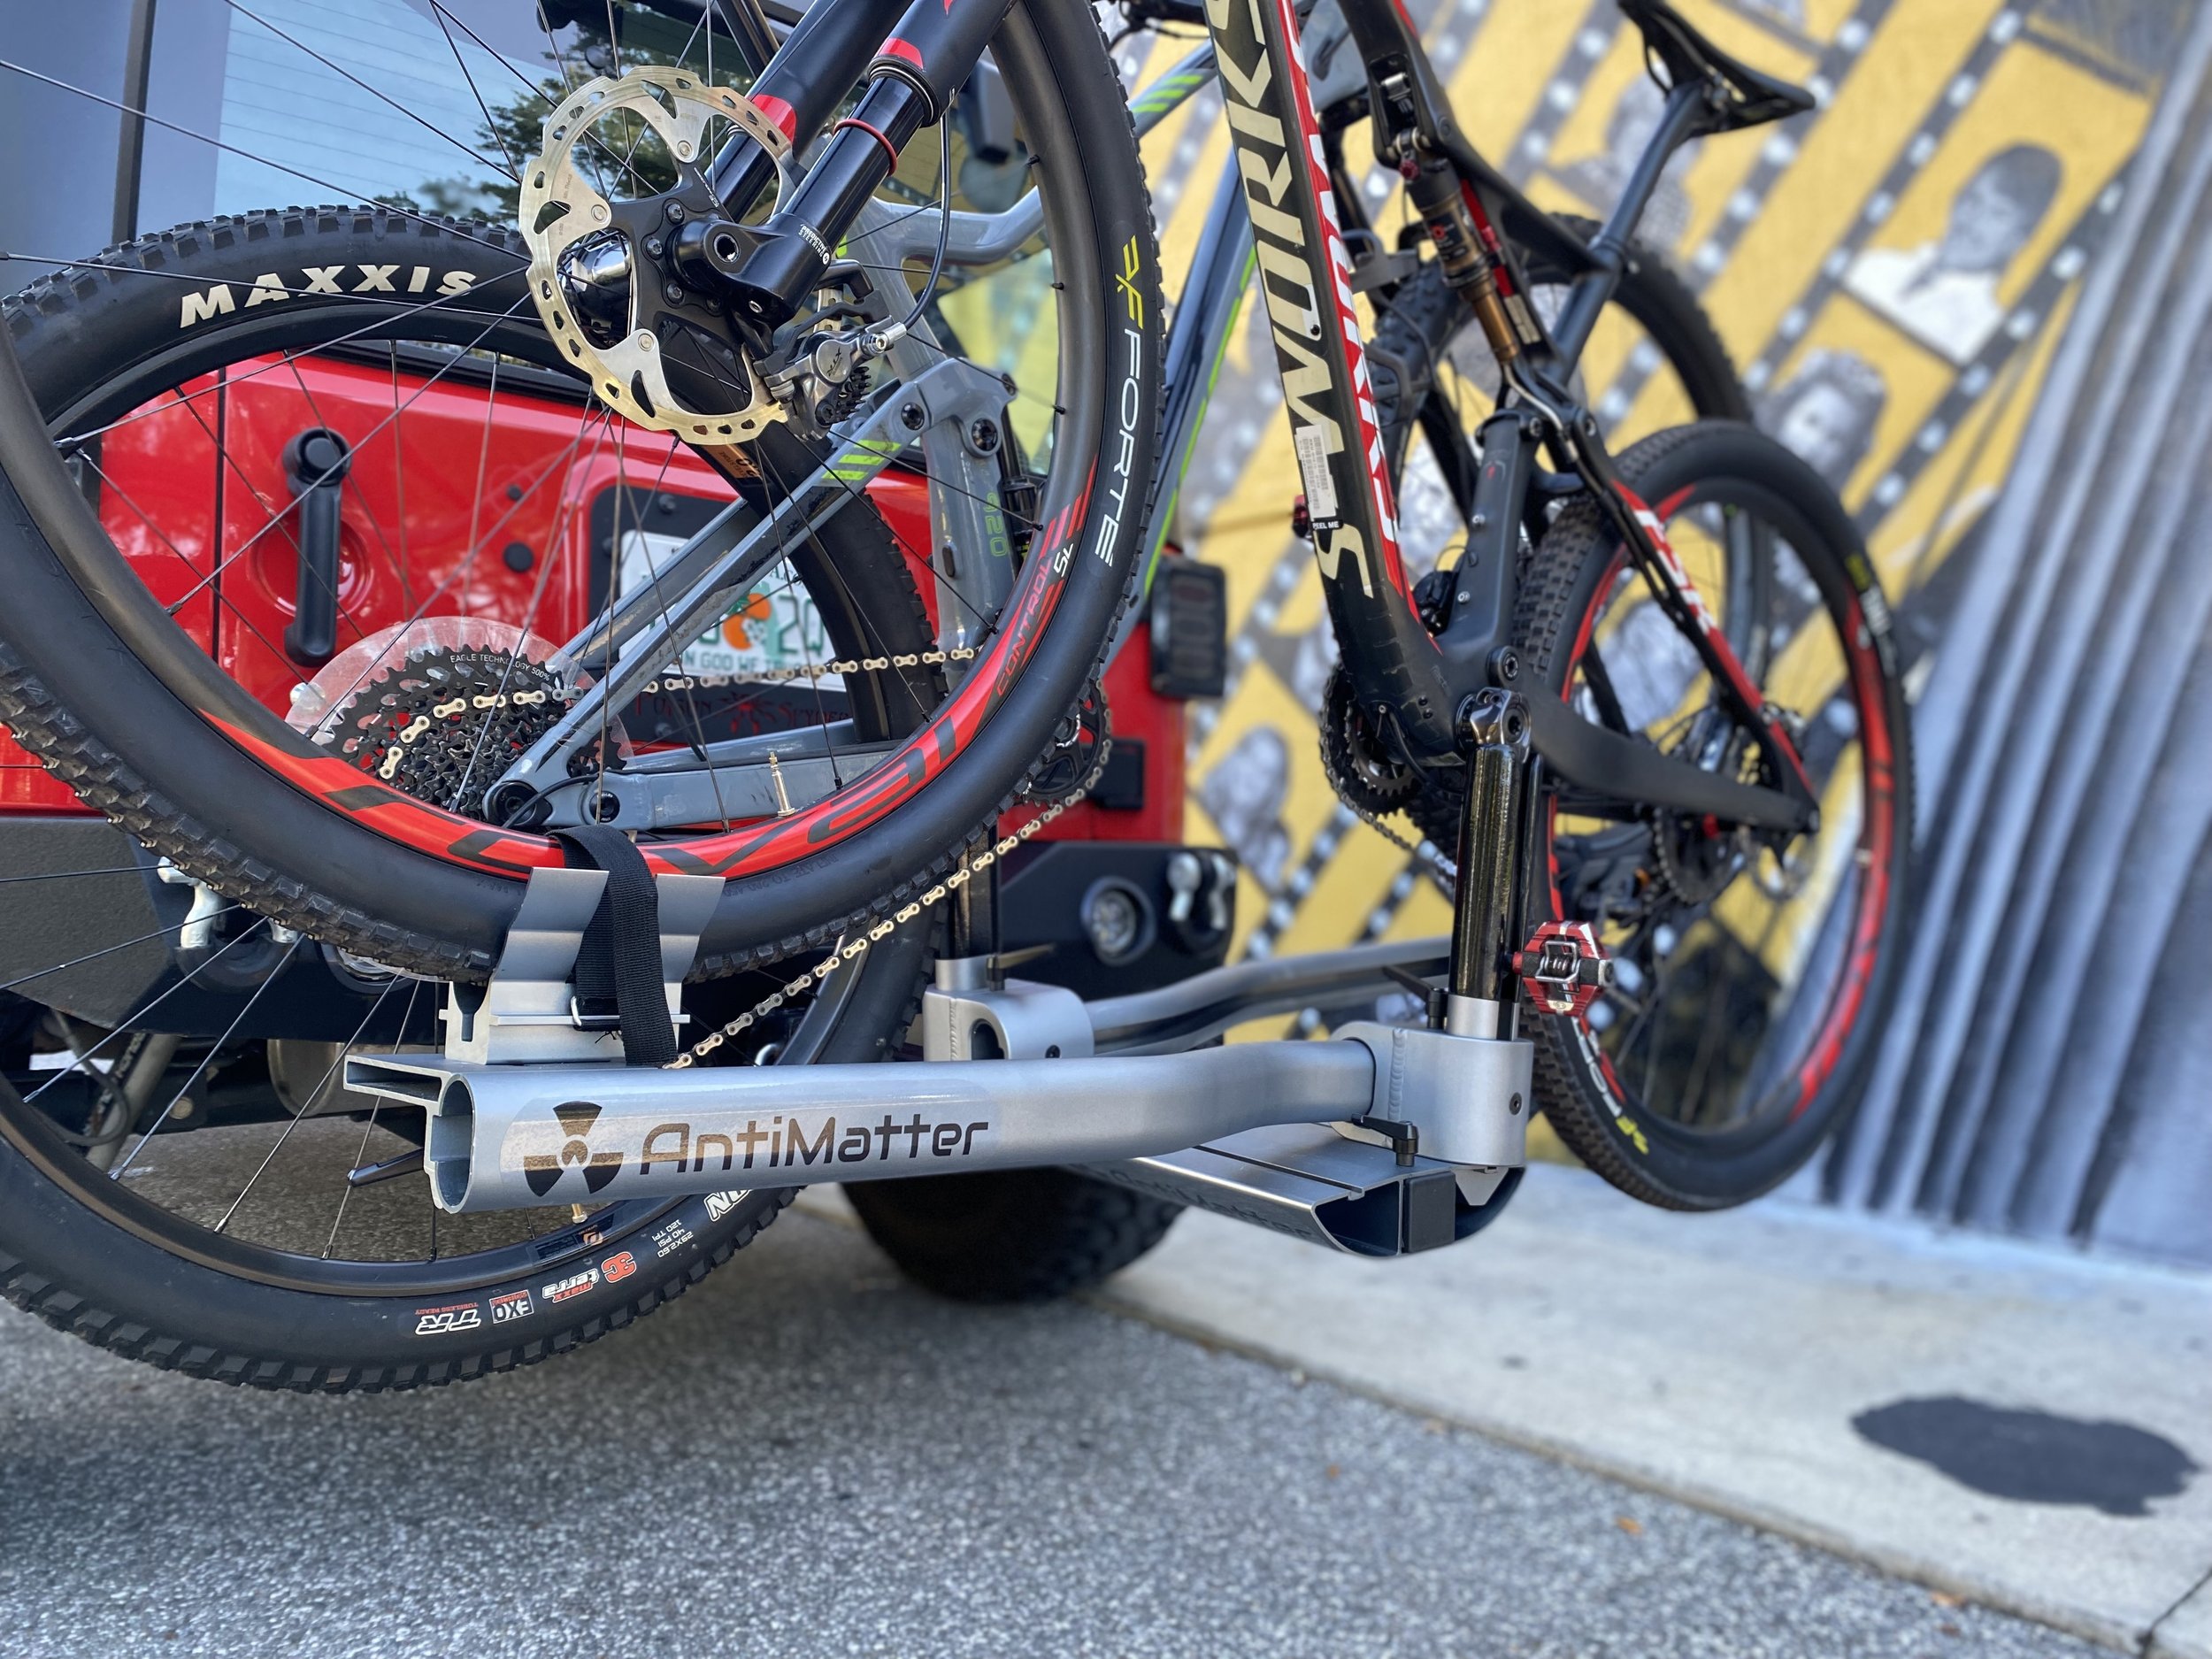
Owner’s Manual
Quickly learn how to get the most from your AntiMatter bike rack.
Follow these steps and watch the demonstration videos.
Familiarize yourself with the assembled bike rack
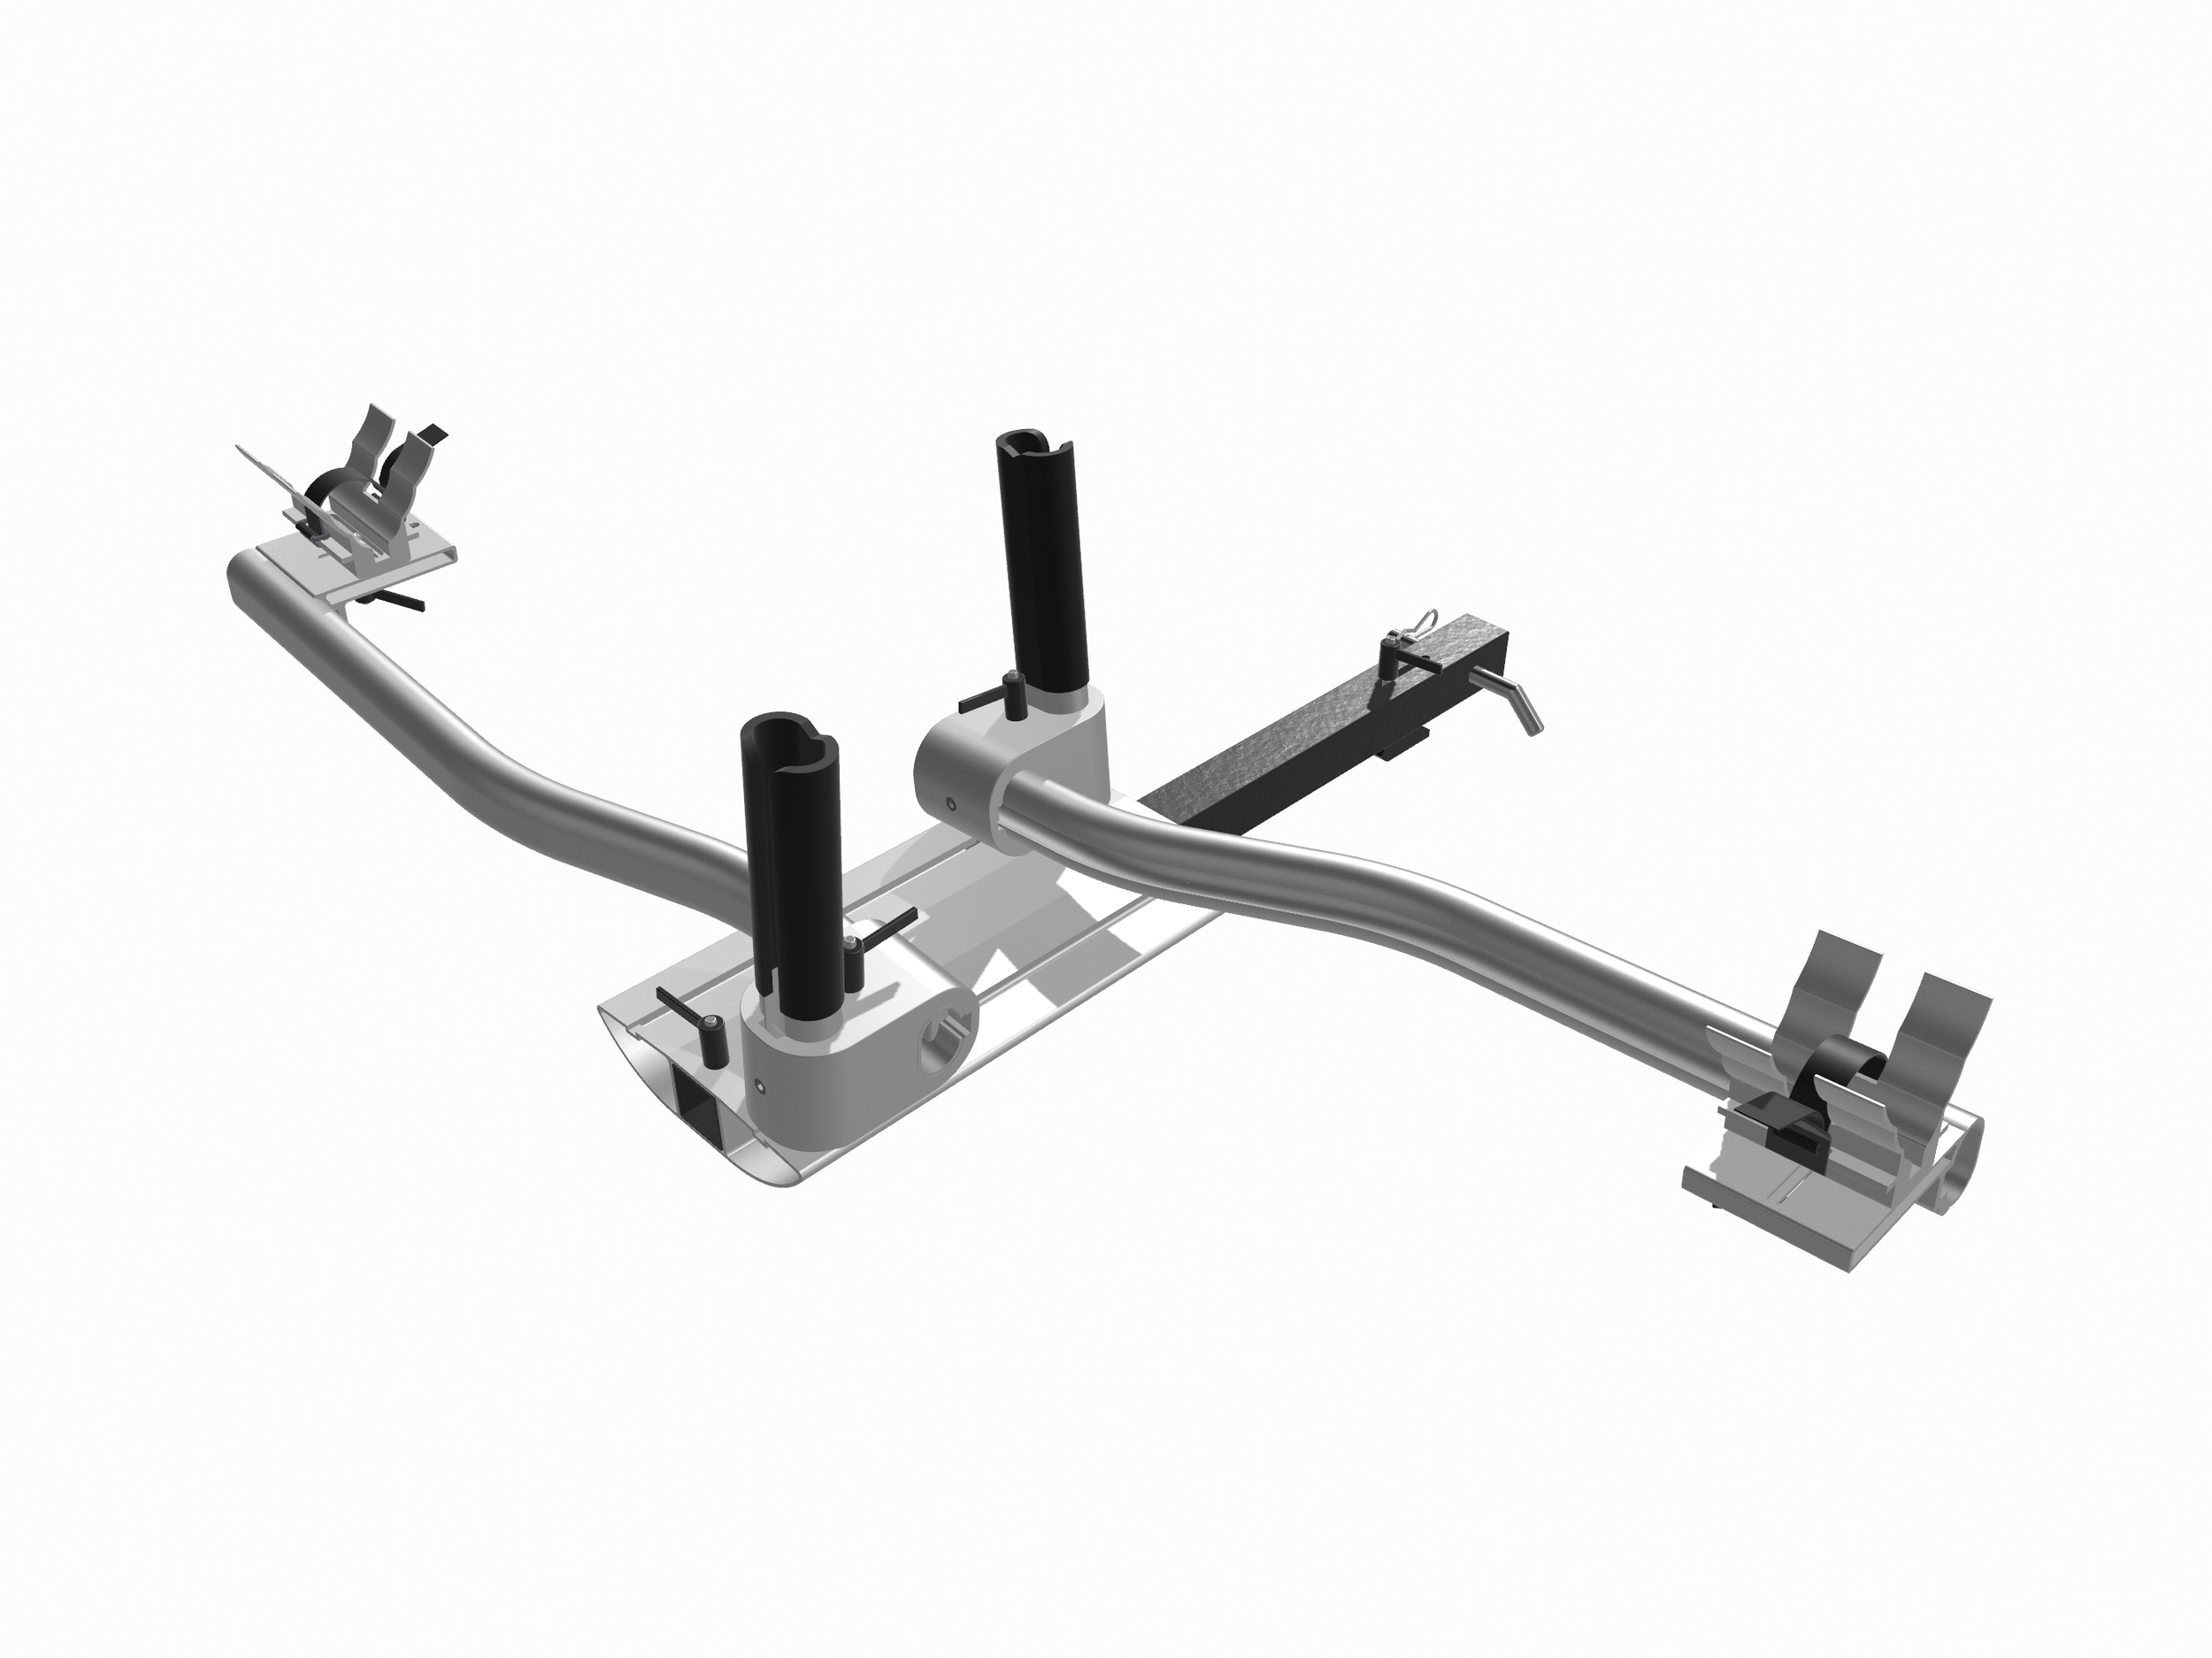
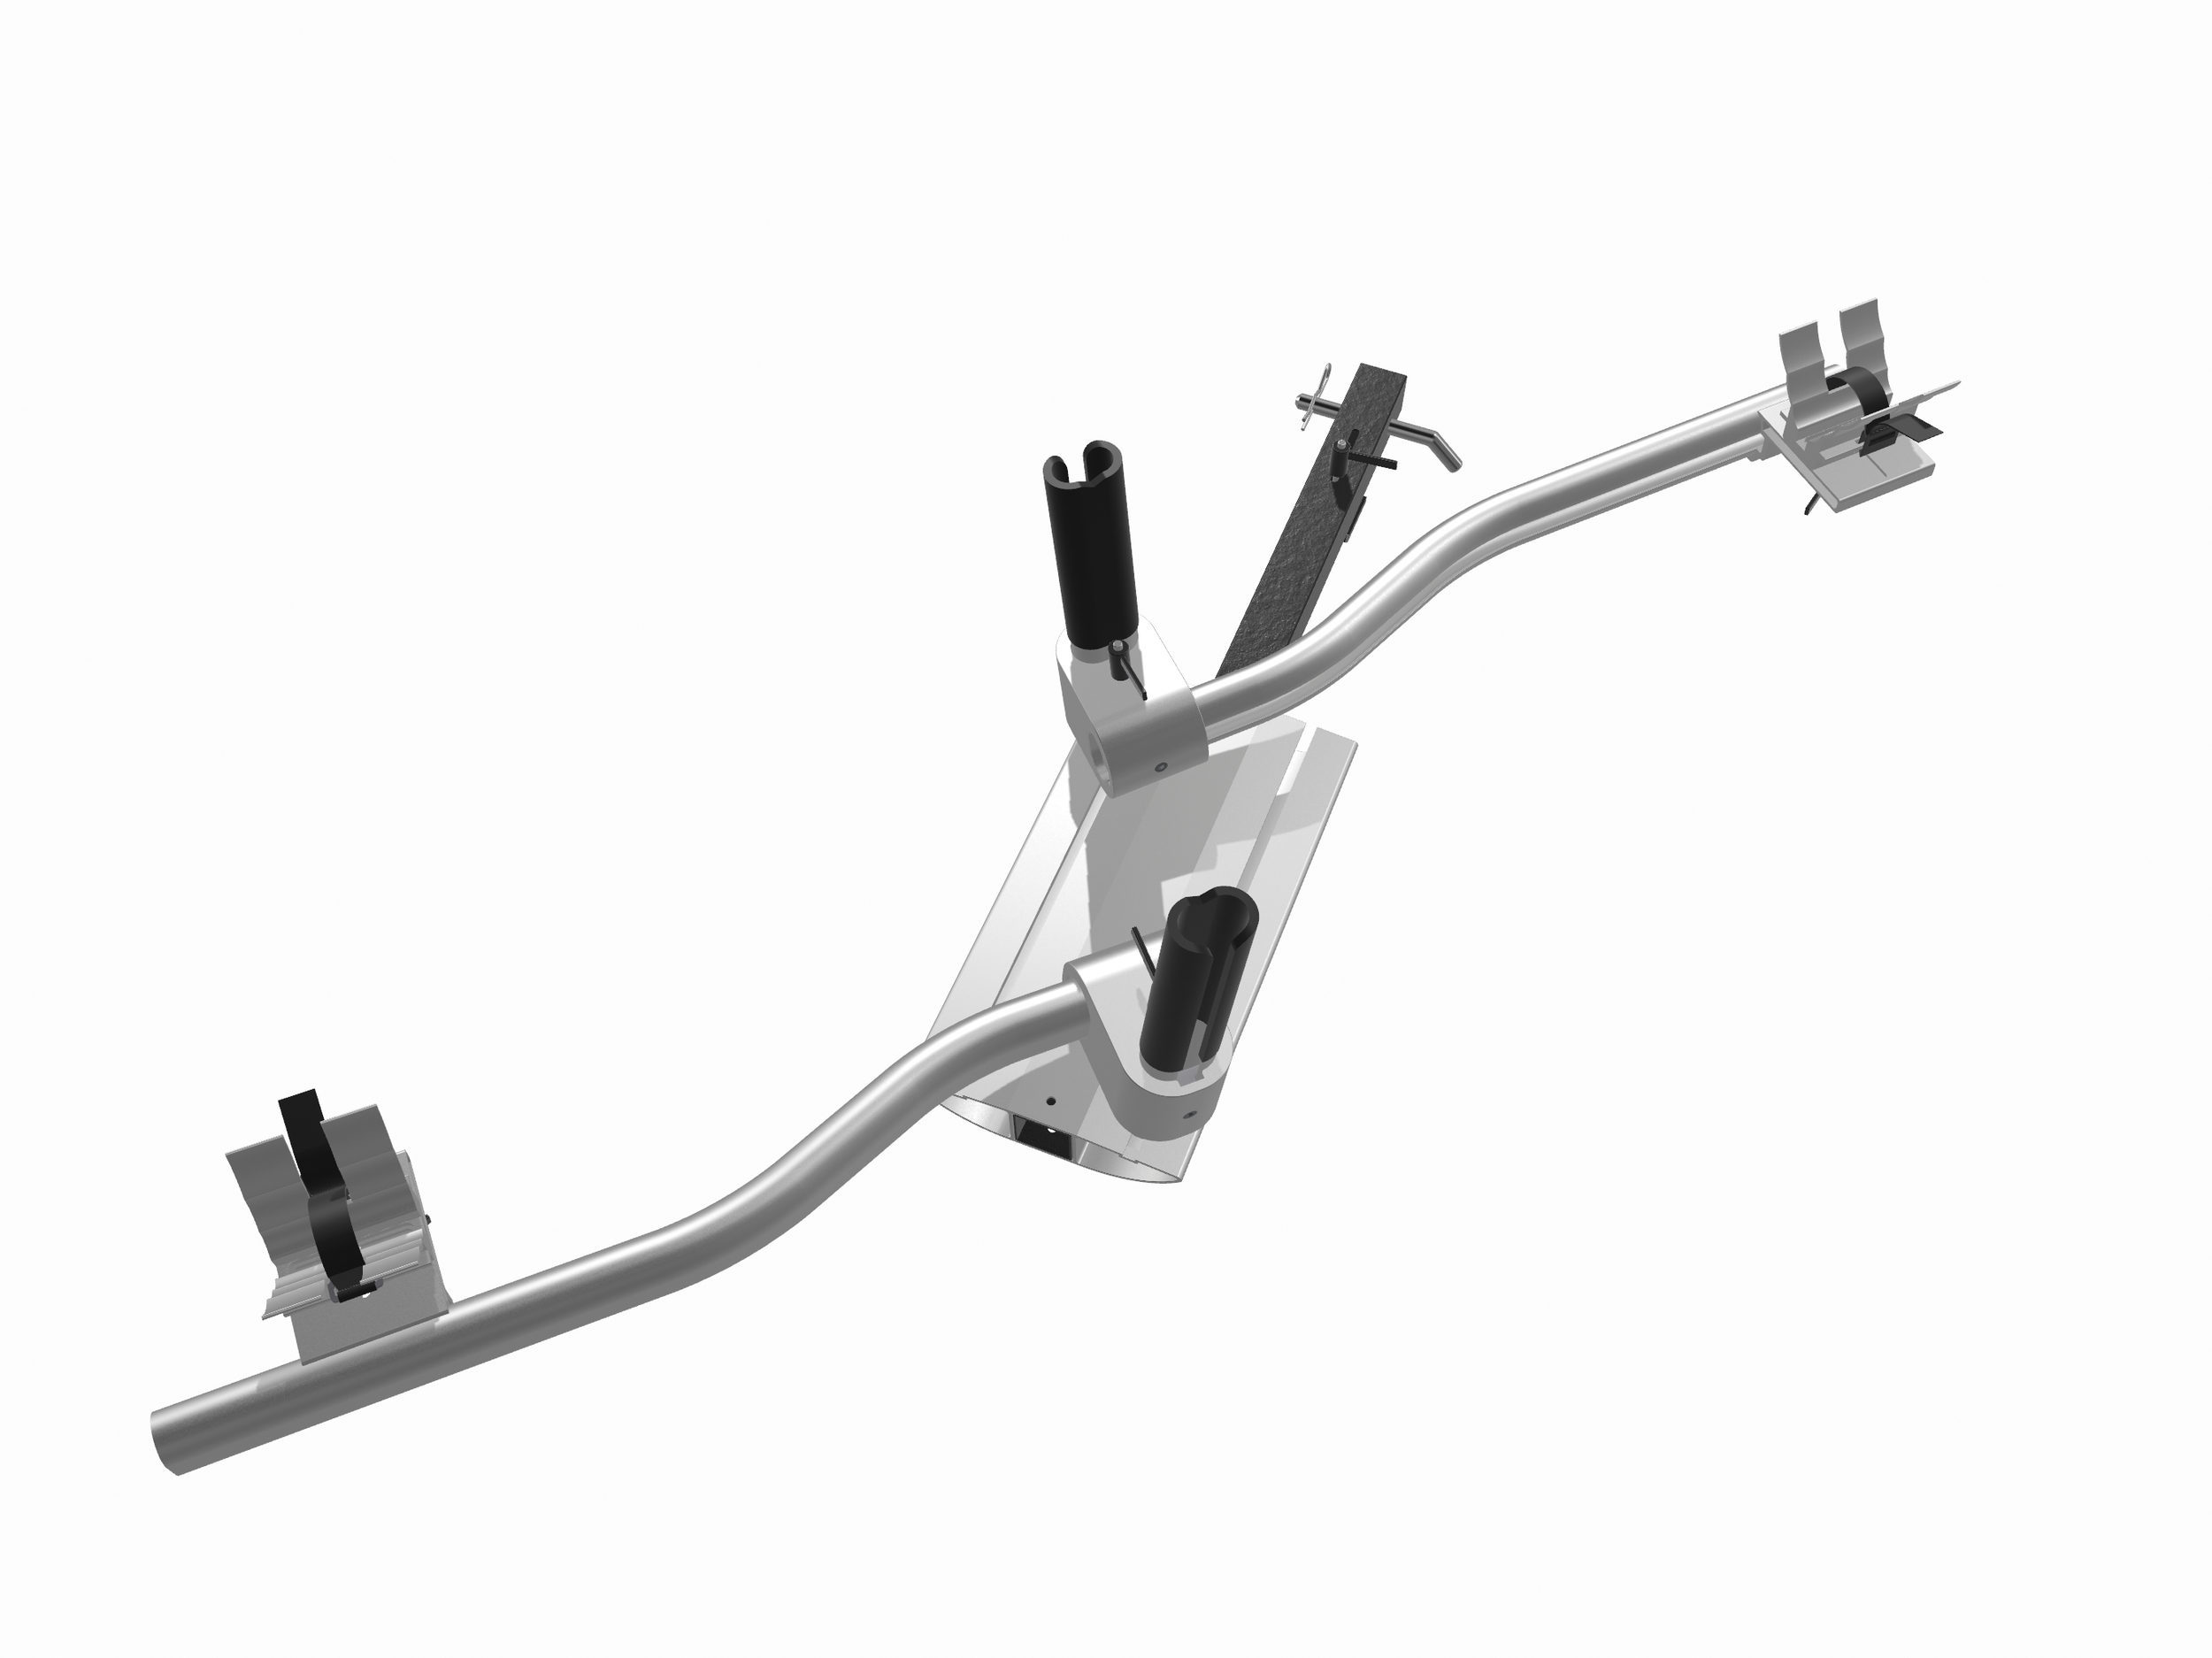
Deployed
AntiMatter Bike Rack deployed and ready for use.
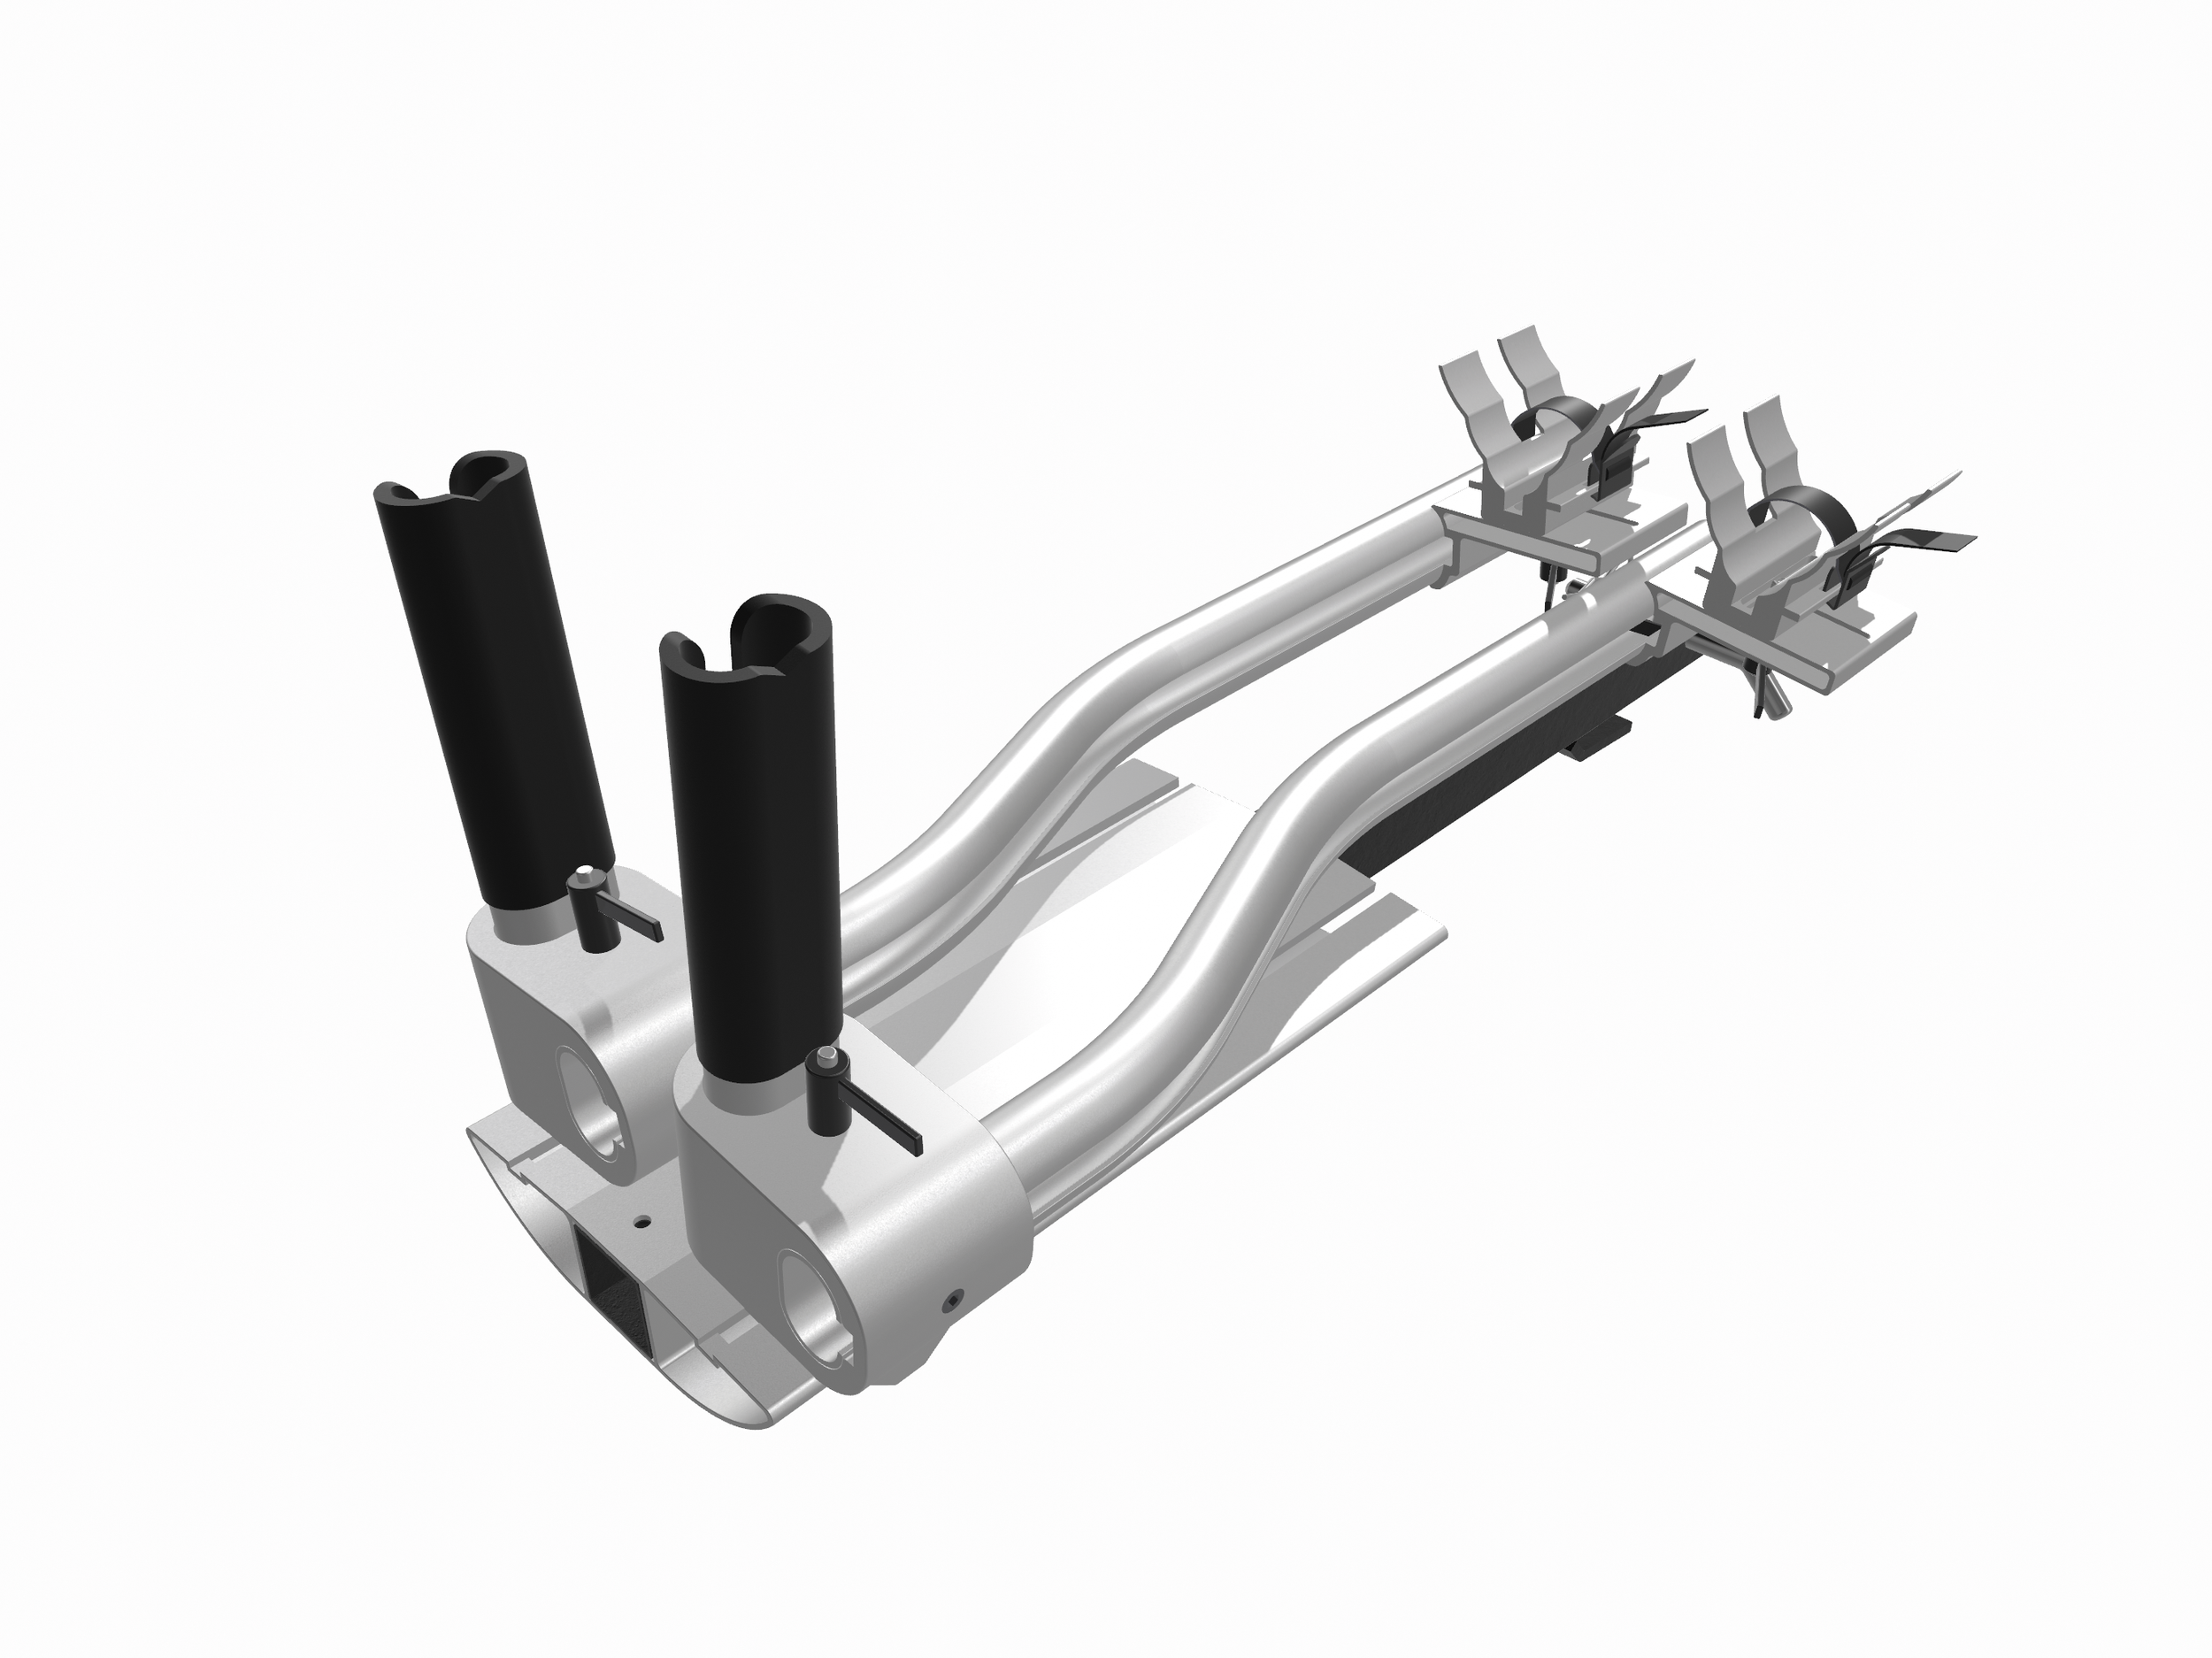
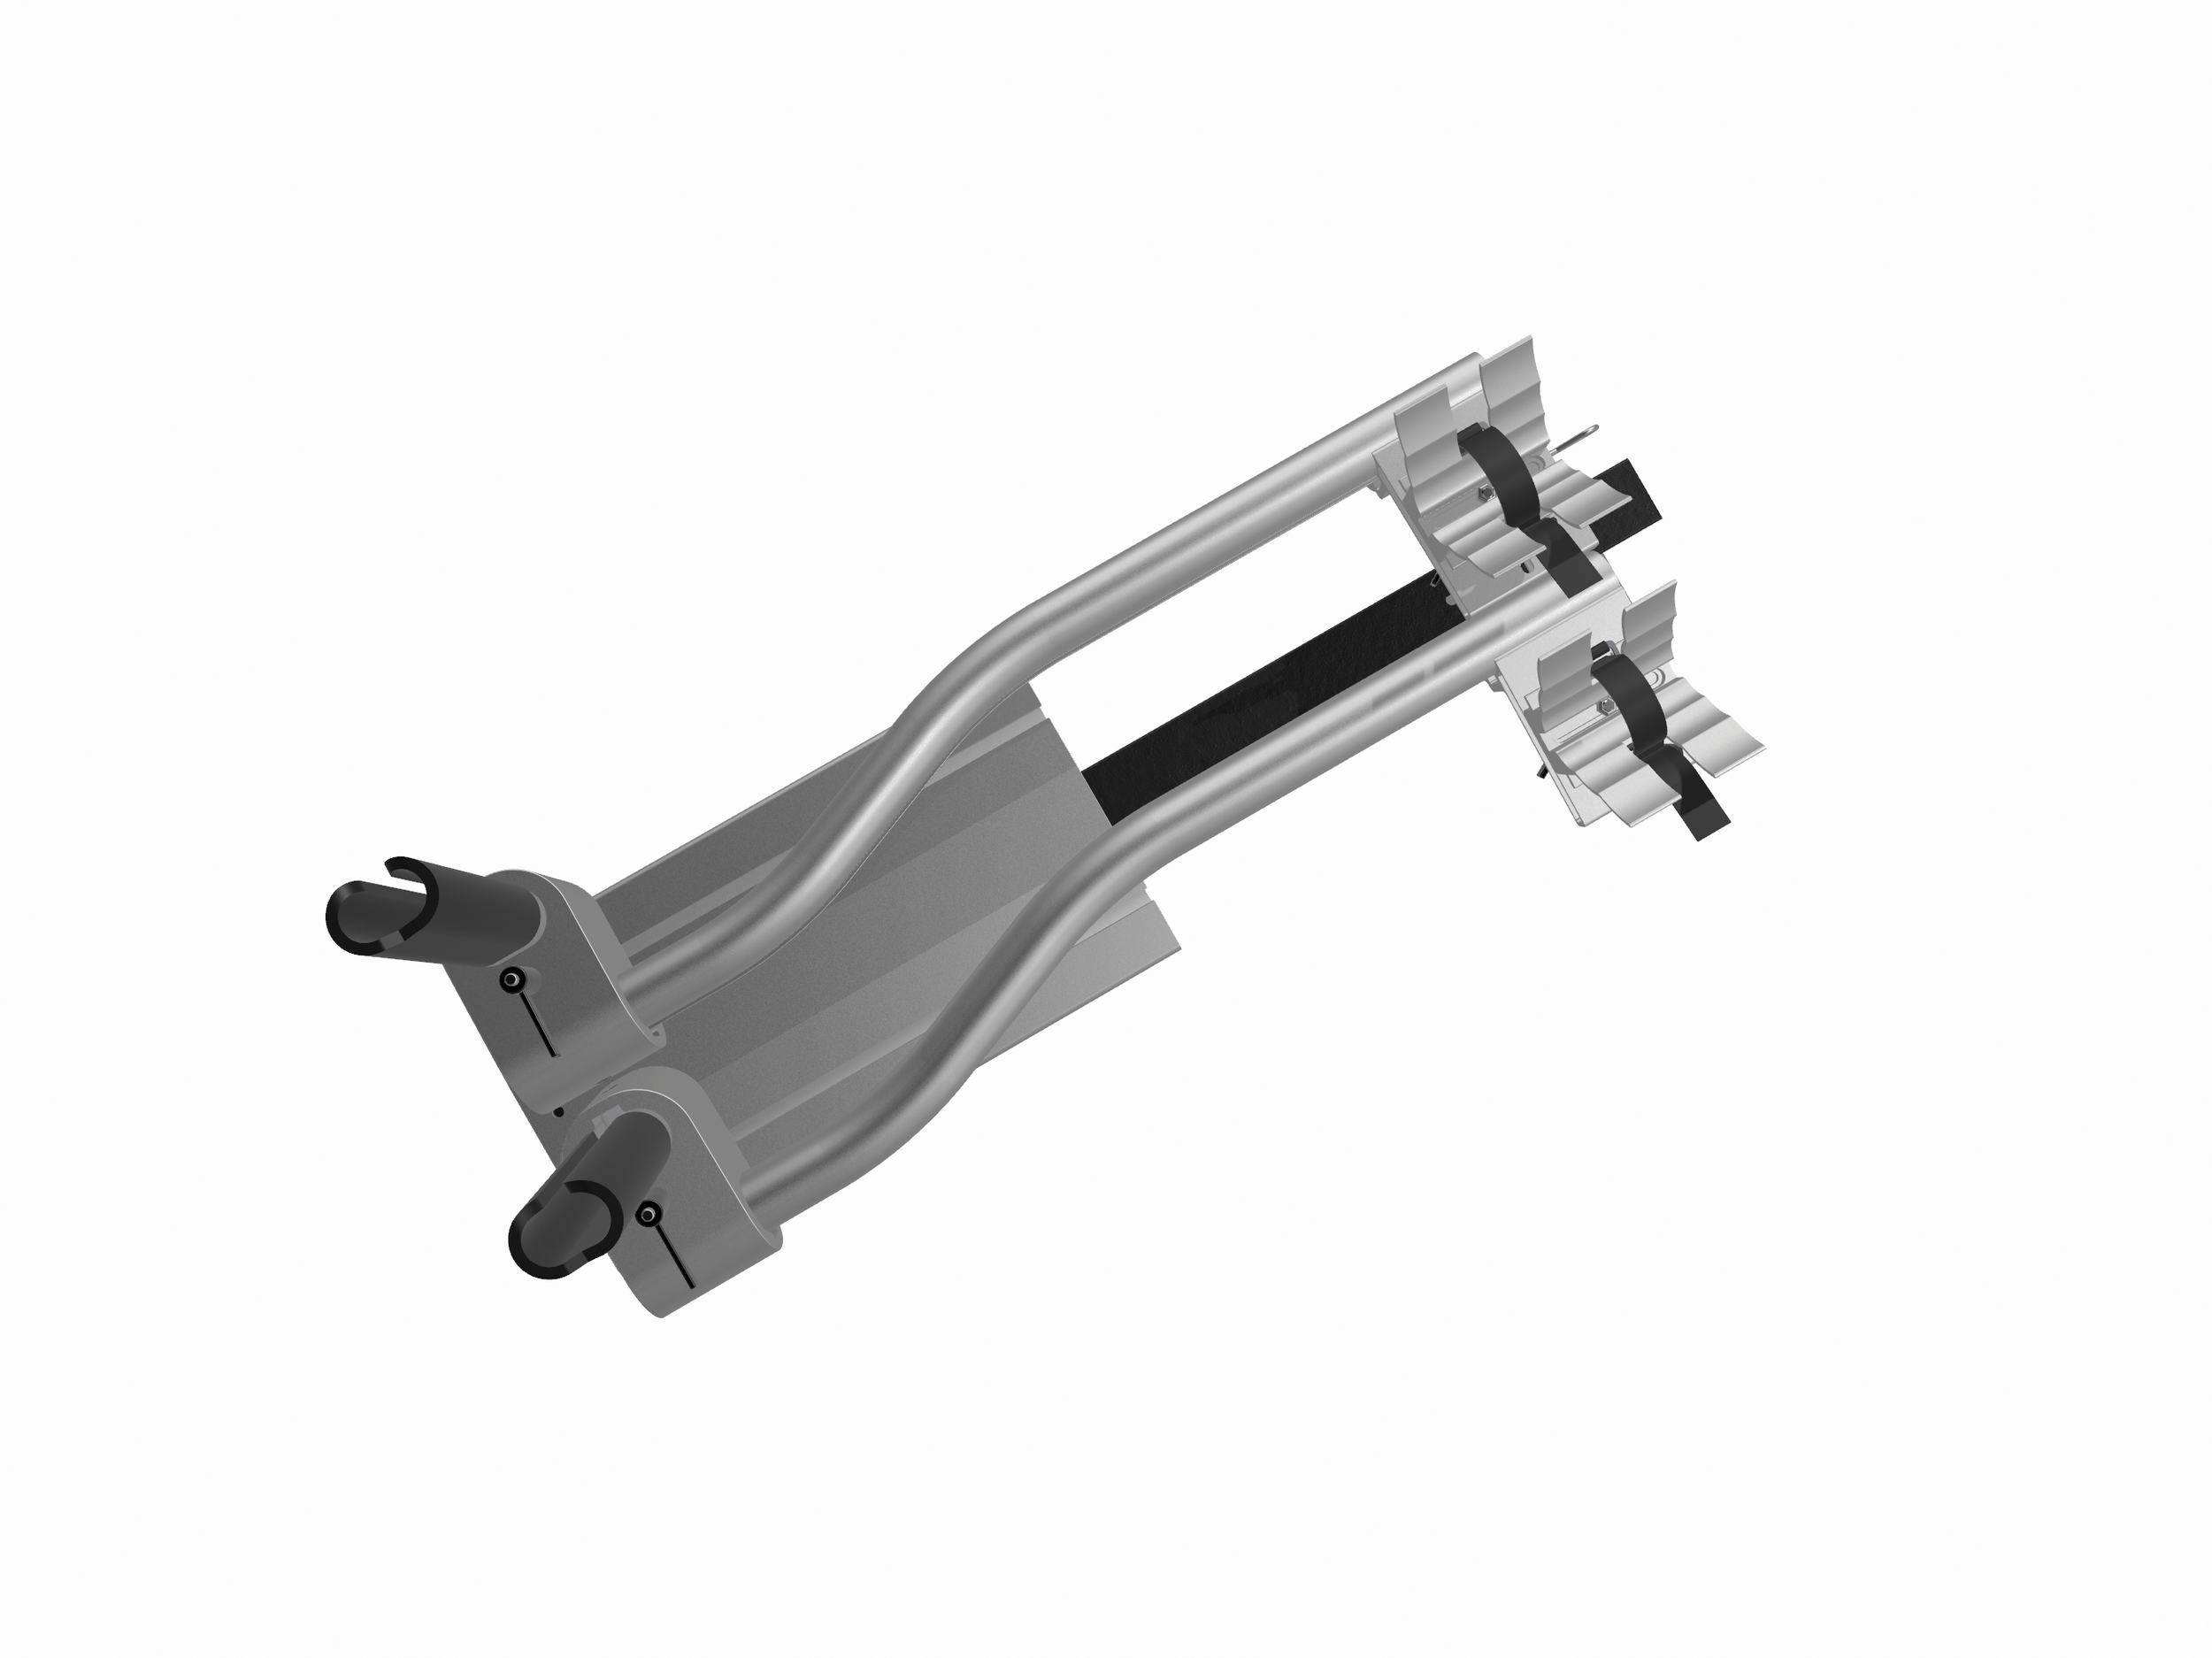
Folded
AntiMatter bike rack folded for compact storage and portability.
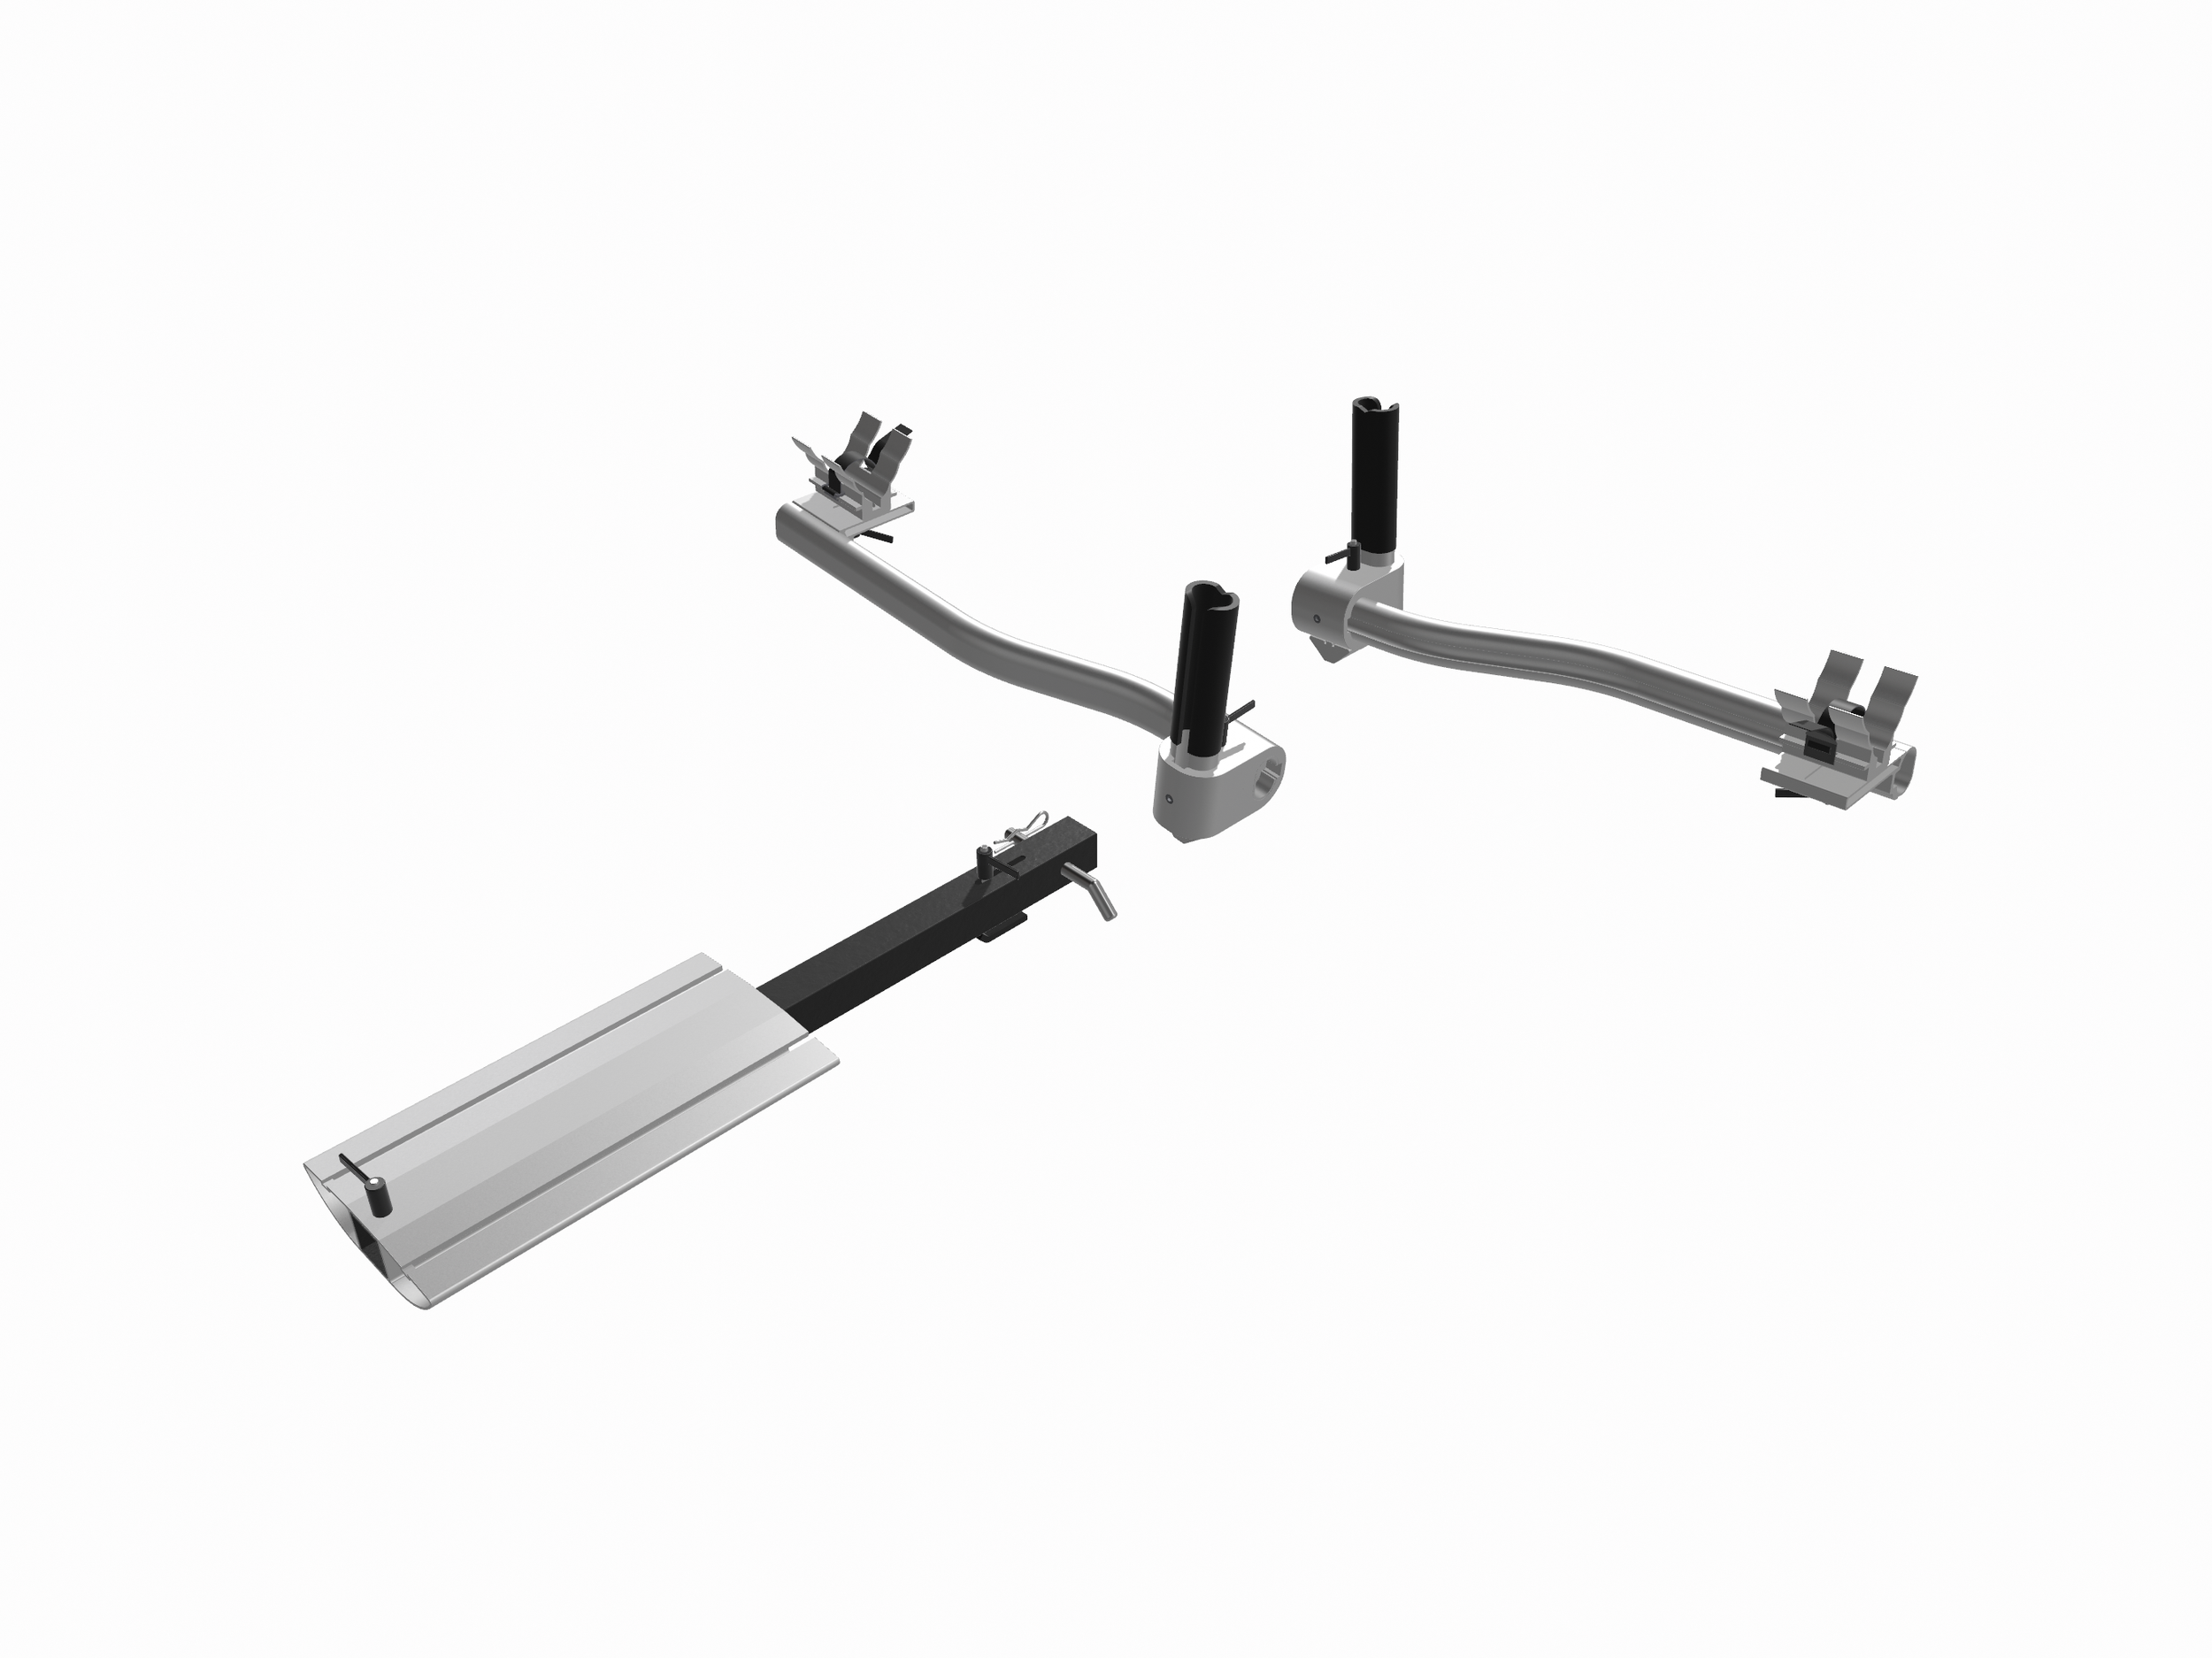
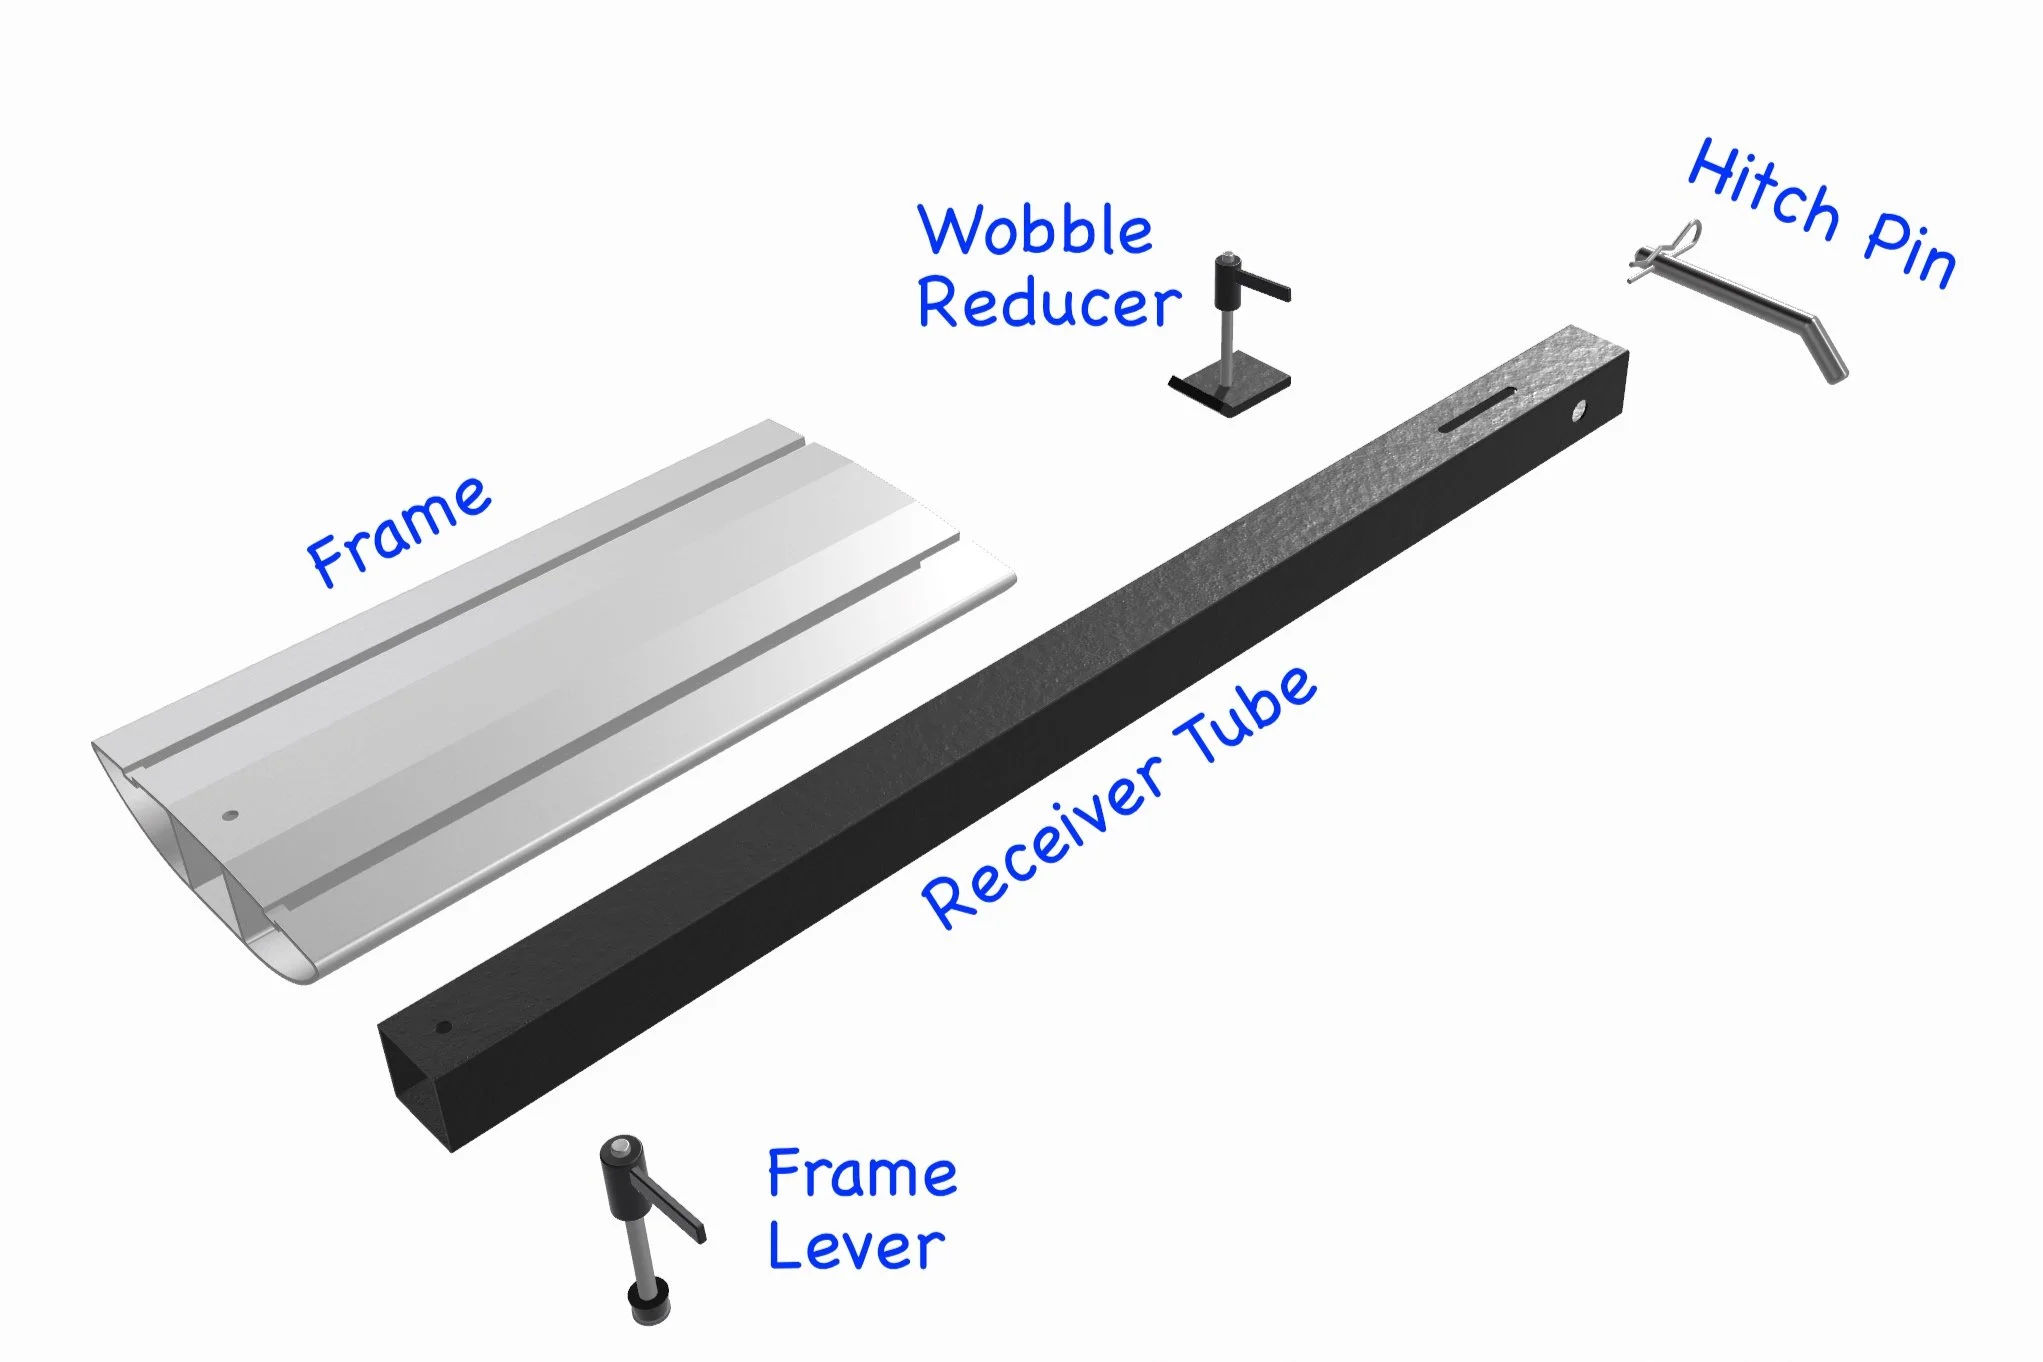
Components
Whatever it is, the way you tell your story online can make all the difference.
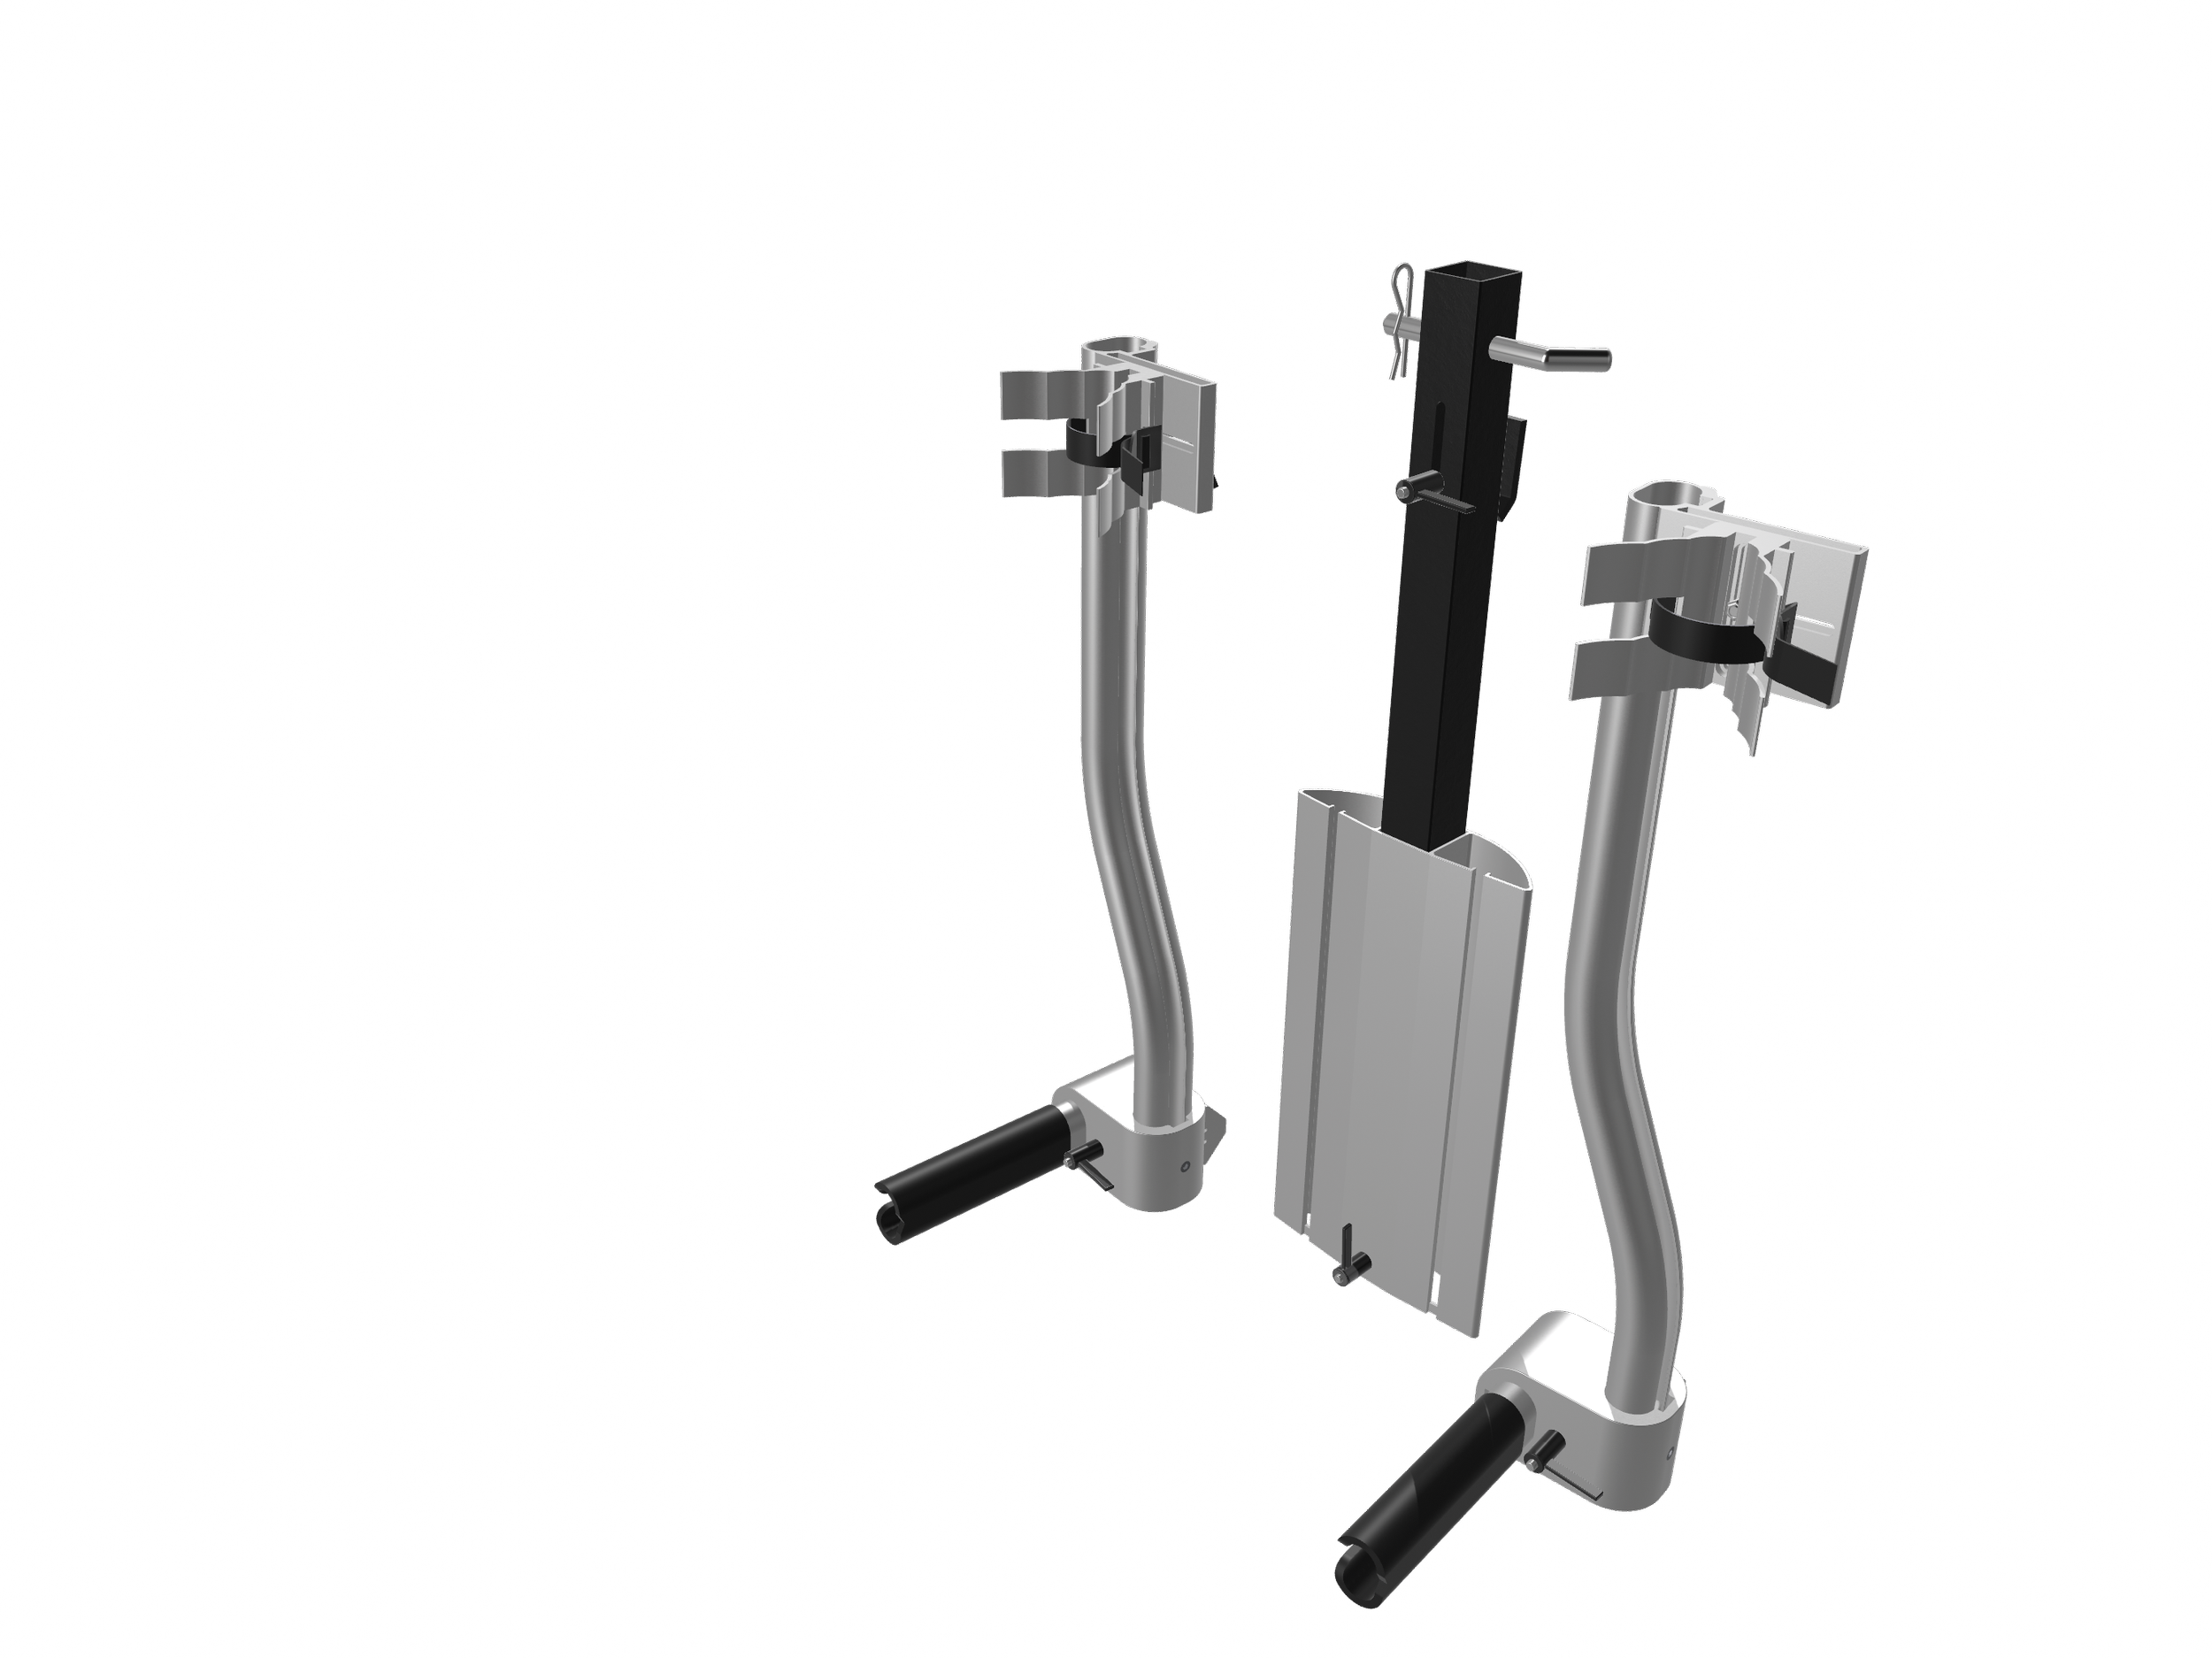
Storing your bike rack
Fold your Antimatter bike rack as demonstrated, then simply stand the rack on its end. It balances in this upright configuration and conveniently occupies very little space.
You can also store you bike rack as individual components.
Installation
There are two methods to install your antimatter bike rack. Watch these videos to quickly familiarize yourself with the best method for you.
How to install the folded rack at one time
This video demonstrates one way to install the bike rack as one complete assembly and also how to fold and unfold the bike rack for portability and compact storage.
If you feel comfortable handling 24 lbs / 11 kg, this method works efficiently.
How to install the rack as components
You can also install the frame and carriers individually, making installation even lighter weight.
If you feel comfortable handling 10 lbs / 4.5 kg, this method works best.
Warnings
Do not exceed 45 pounds per bicycle
Install only 2 carriers per frame segment
Never leave bikes or bike rack unattended and out of site, whether locked or unlocked
Only the non-drive crank can insert into the crank holder
The bicycles front wheel must be securely fastened to the wheel holder
Align the bike carriers in the correct direction, crossing over the frame
Do not let snow and ice accumulate on rack
Do not cover bicycles while on the rack
Inspect the wheel straps to ensure good condition
Maintaining your bike rack
Clean using soap and water
Inspect for excess wear, bending, or cracking material
Contact Antimatter for replacement parts
Use only Antimatter replacement parts
Polish alloy with spray-on furniture polish to renew appearance
Lubricate lever handles and threads occasionally
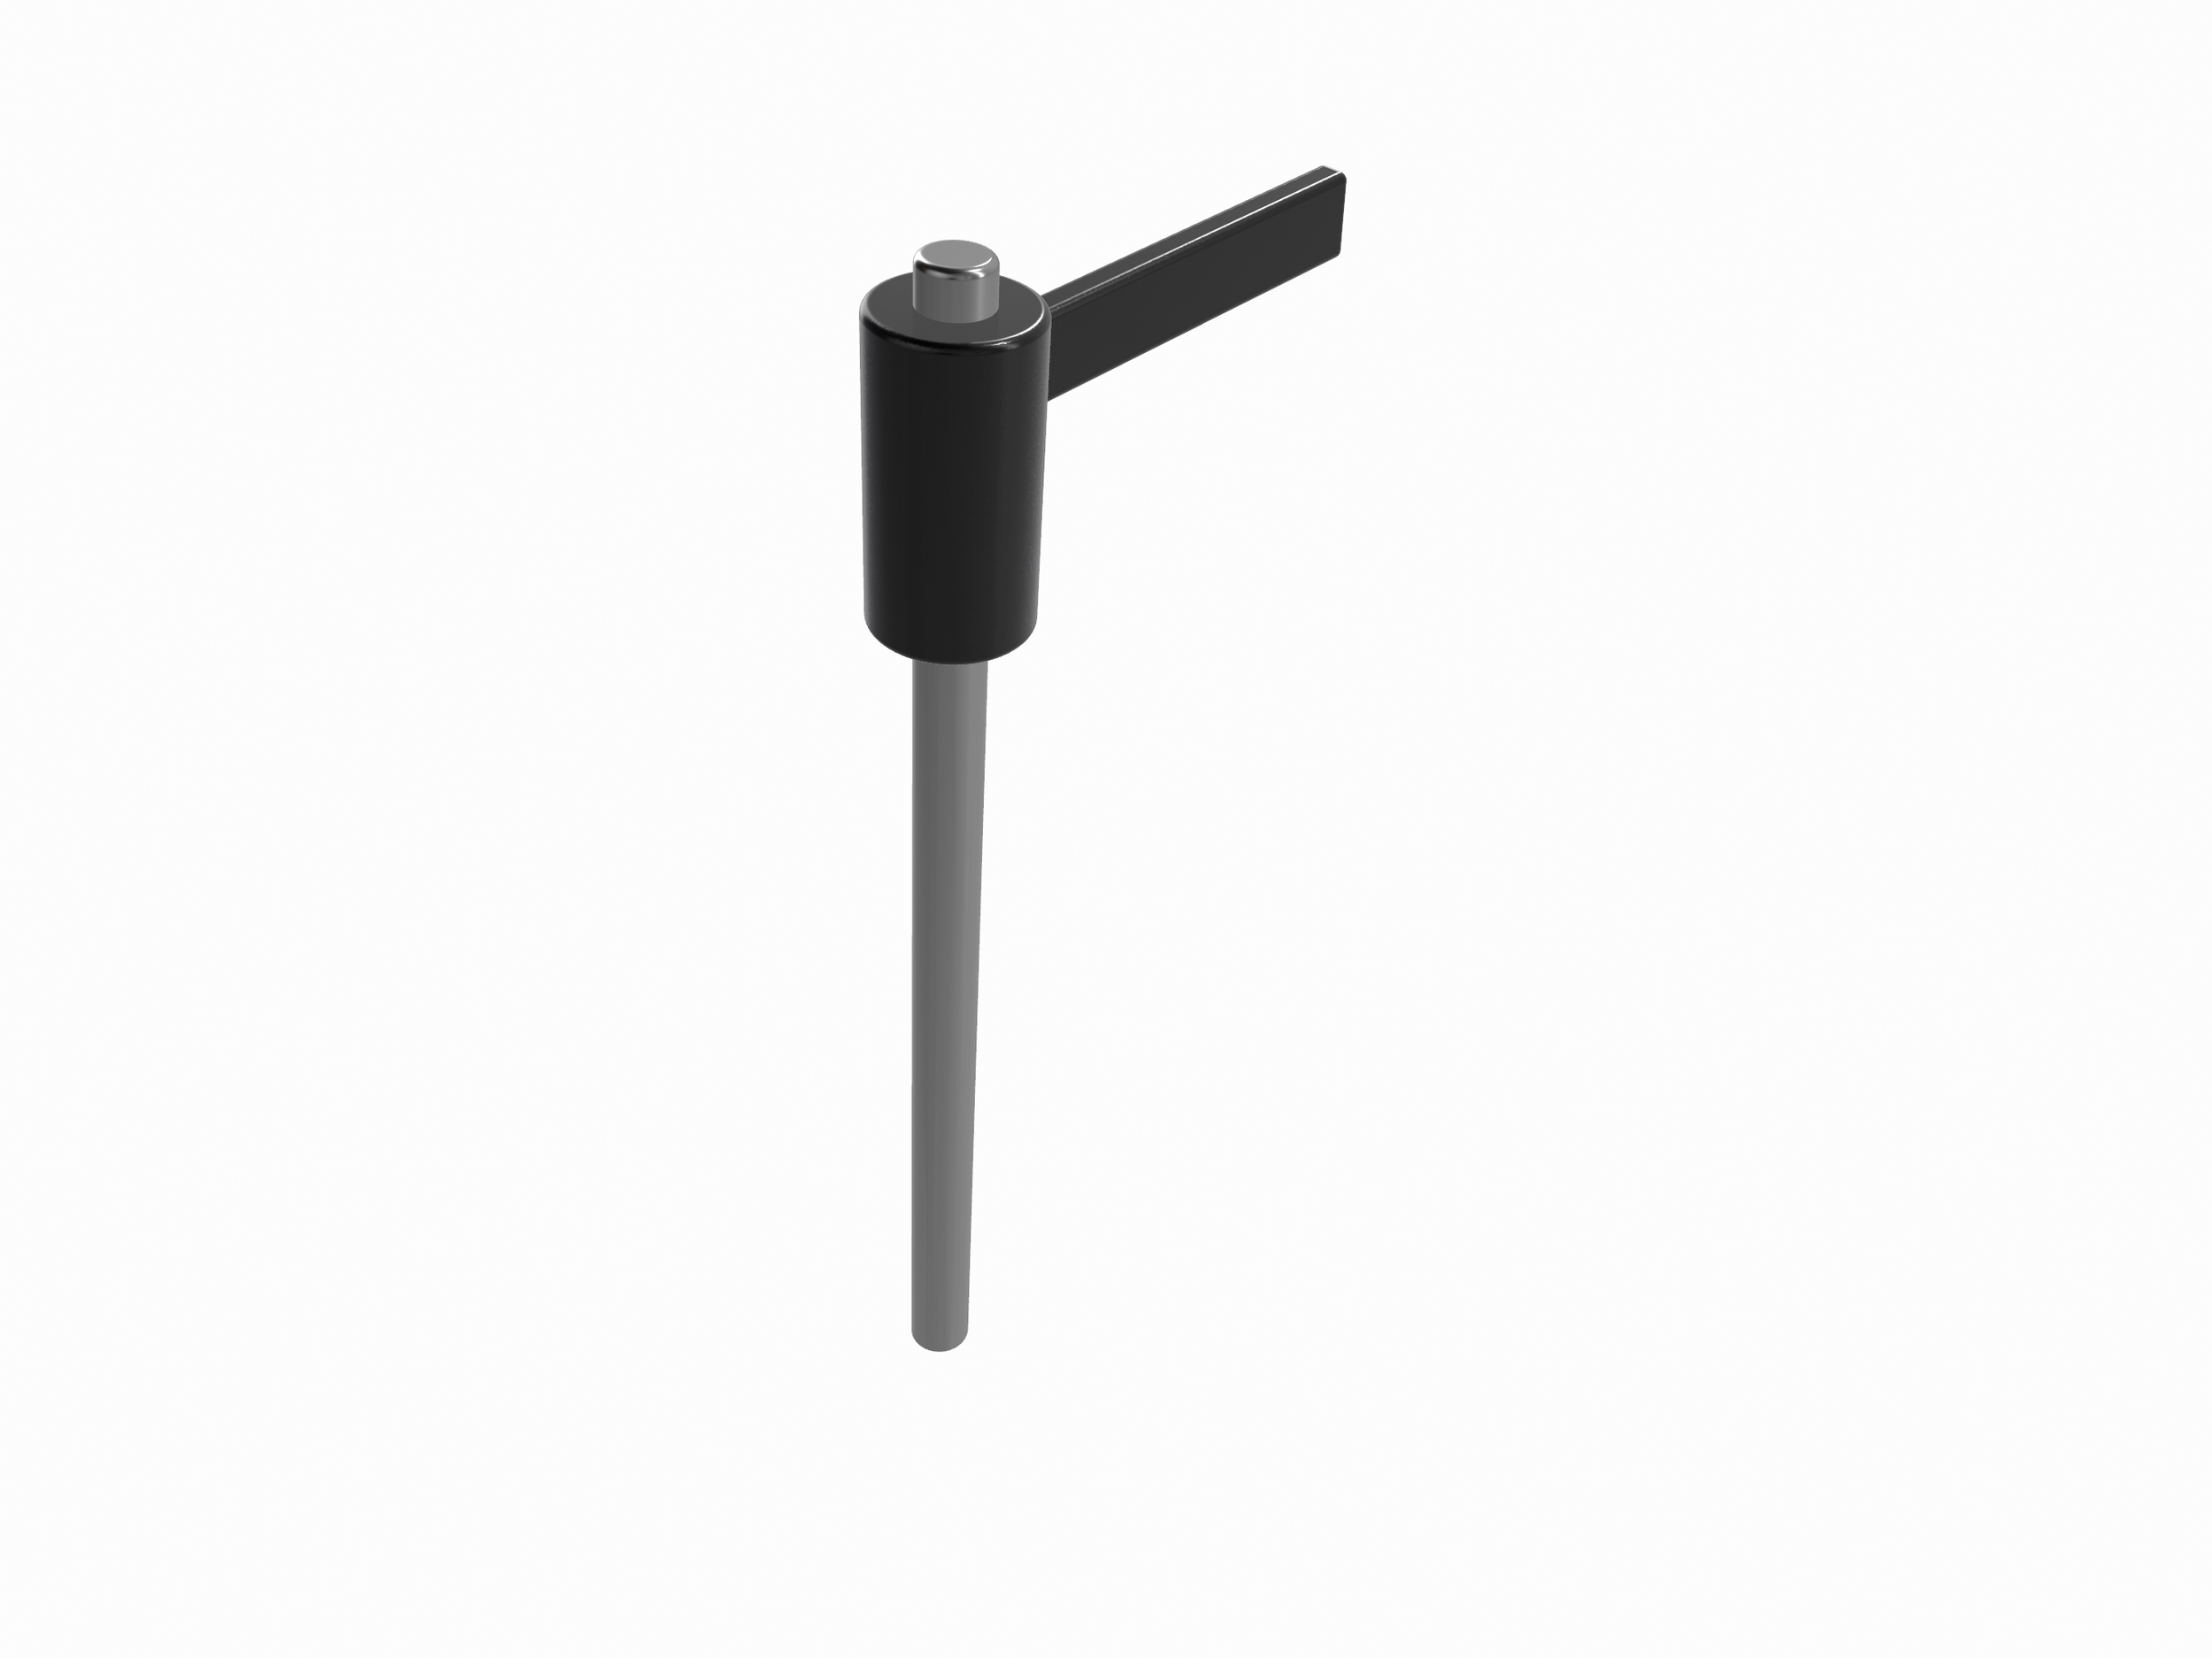
How to use the ratcheting levers
Each lever is spring loaded and has two positions: engaged and disengaged. The resting position is engaged.
Simply turn the lever clockwise to tighten, anti-clockwise to loosen. Pulling outward on the lever handle while pushing the button disengages the gear allowing you to reposition the lever.
Identify your assembly parts
Identify your frame assembly parts.
Identify your bike carrier parts.
Assemble the bike carrier
Layout the bike carrier components as pictured. Slide the crank holder into the slot adjacent to the lever with the slot facing away from the lever. Slide the S-tube as shown. Slide the wheel holder assembly into the end of the S-tube.
Tighten all bolts adequately to ensure parts cannot move.
Assemble the frame
Slide the receiver tube into the alloy frame, then fasten them together using the ratchet lever.
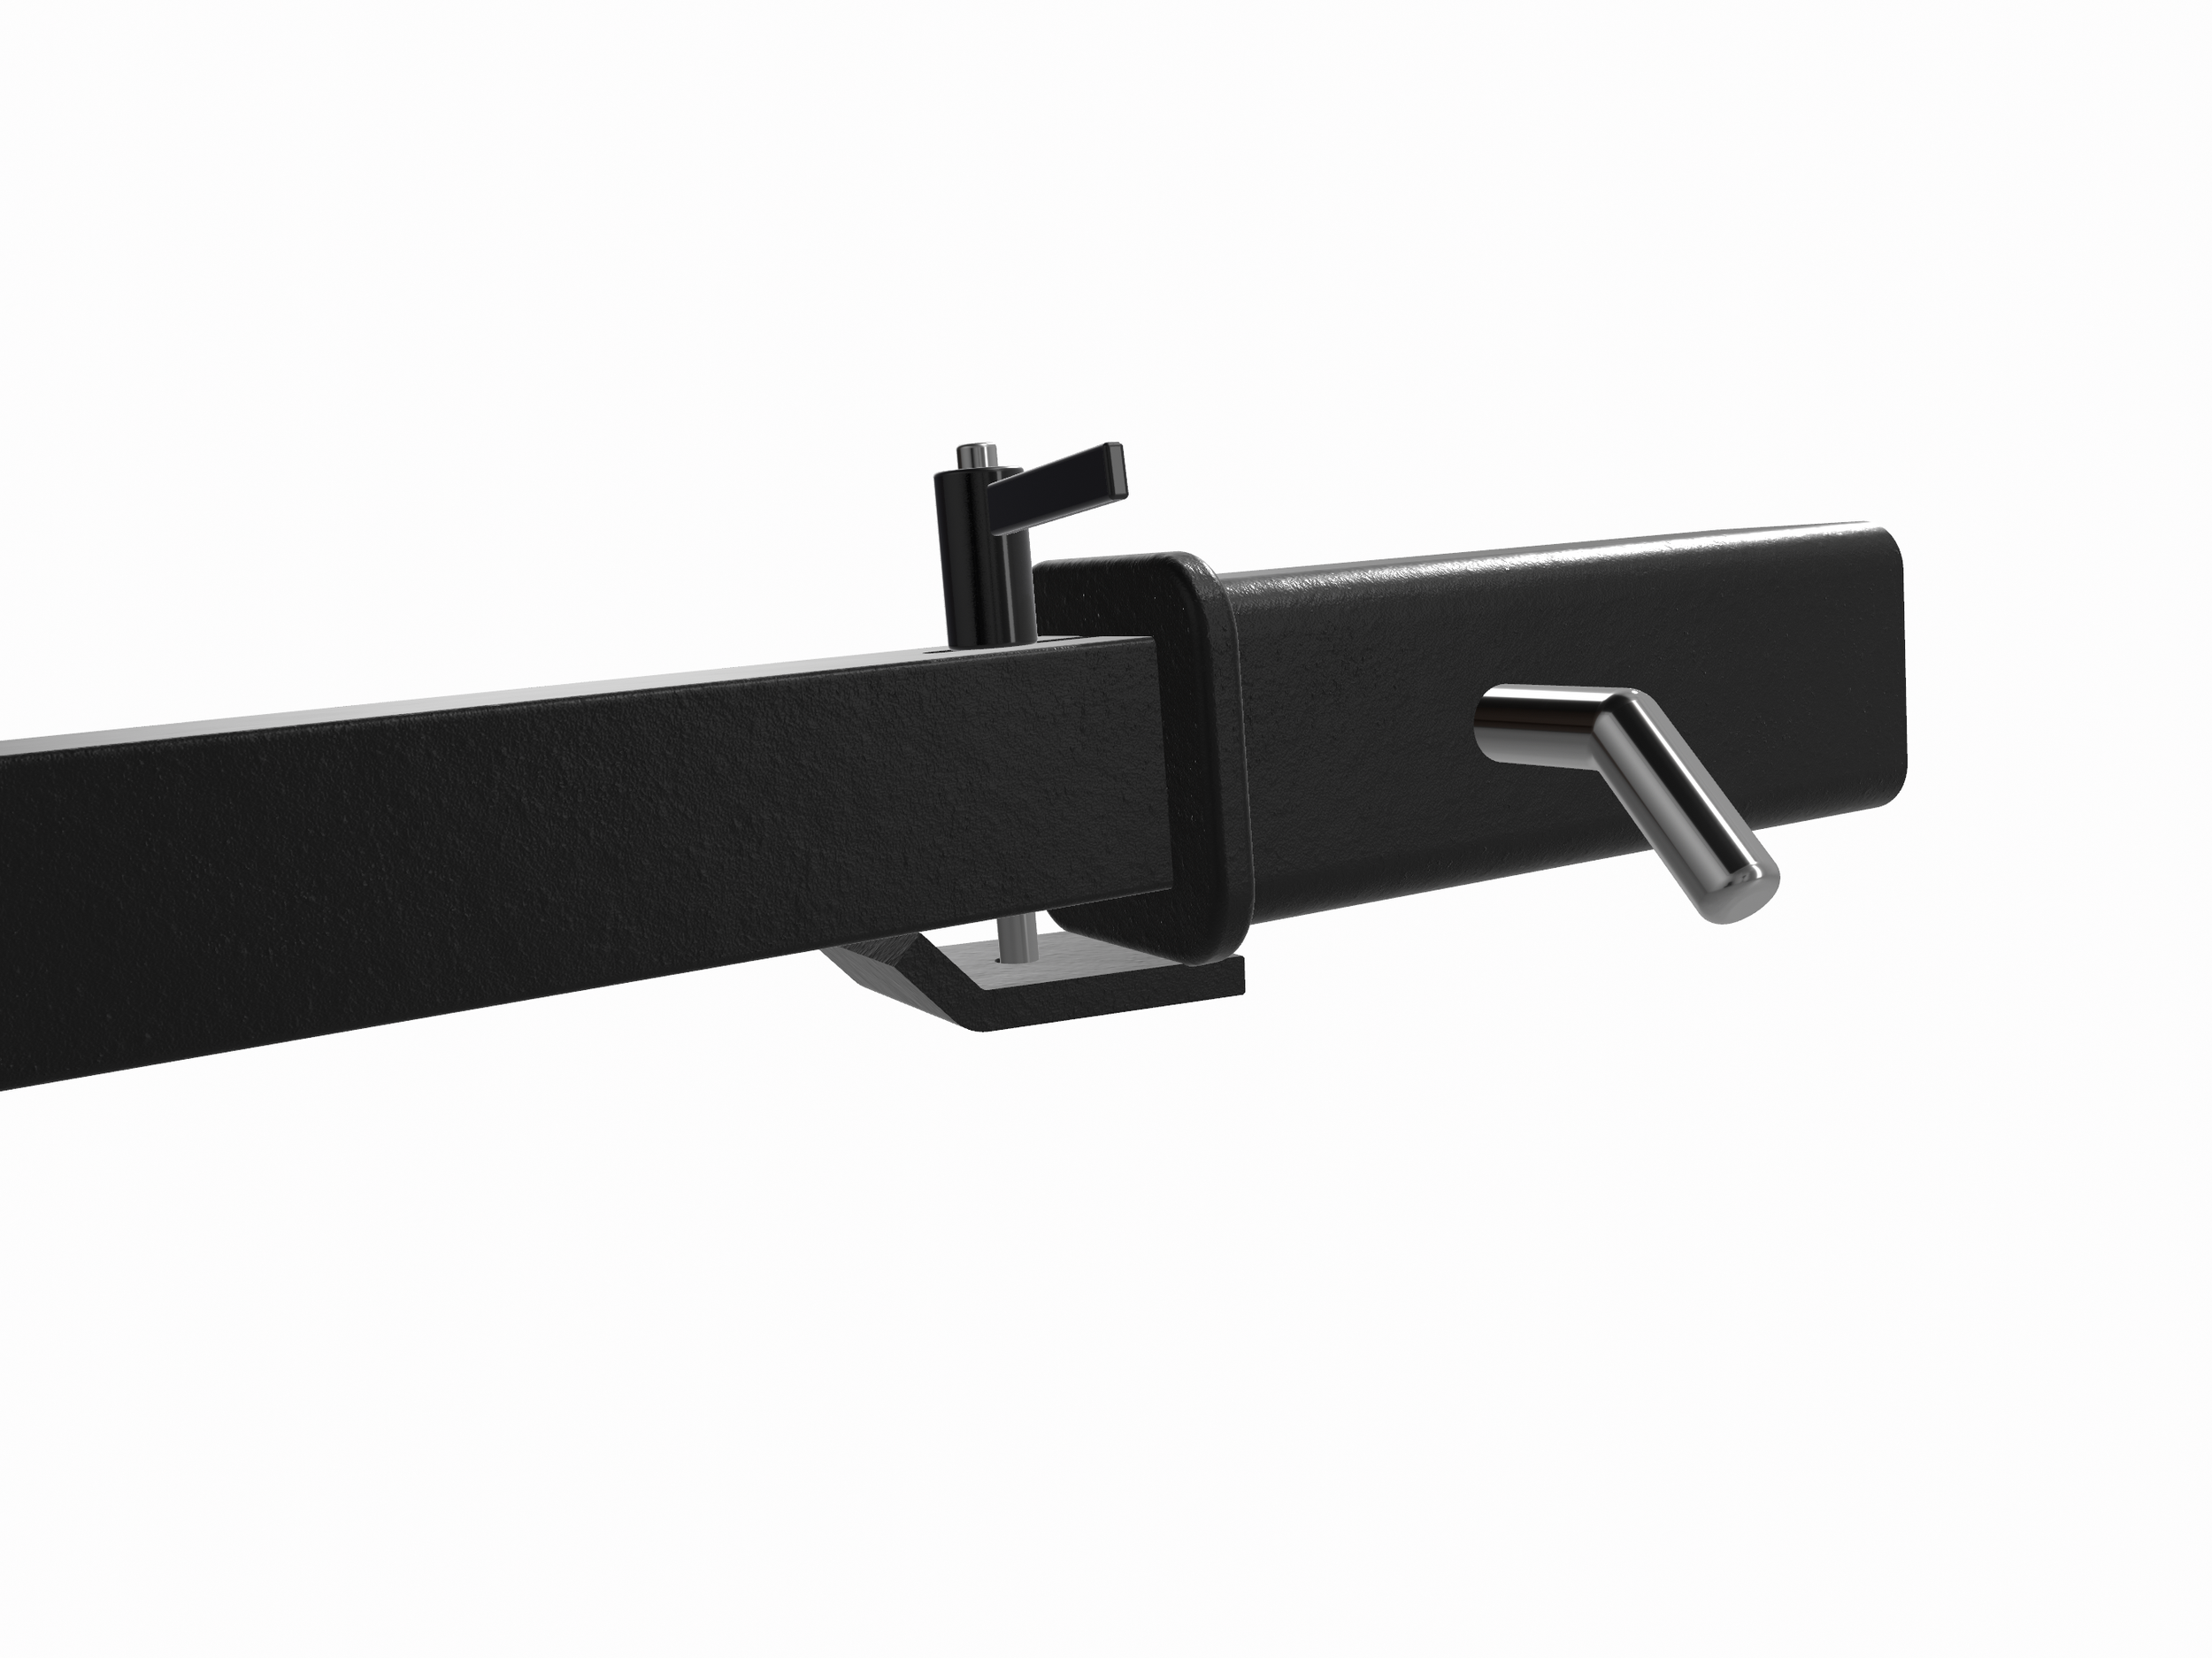
Install the wobble reducer and the receiver pin and clip.
Install a bike carrier onto the frame
From the back of the frame, slide each bike carrier onto the frame as pictured. It is important to align the bike carriers as pictured.
With each carrier in your desired position, tighten each bike carrier’s lever until the bike carrier cannot slide or rotate. Tighten adequately to prevent loosening.
Install the bike rack on the vehicle
Slide the tube into the receiver, align the holes, then insert the hitch pin and retainer clip. You can use a locking receiver pin in place of the pin provided.
Position the wobble reducer as pictured, then tighten the lever.
Select and install the desired wheel strap length
Three wheel straps are included with each bike carrier. They vary in length to fit all tire sizes. You can use any length strap you desire so long enough strap extends from the buckle for you to tension the strap firmly.
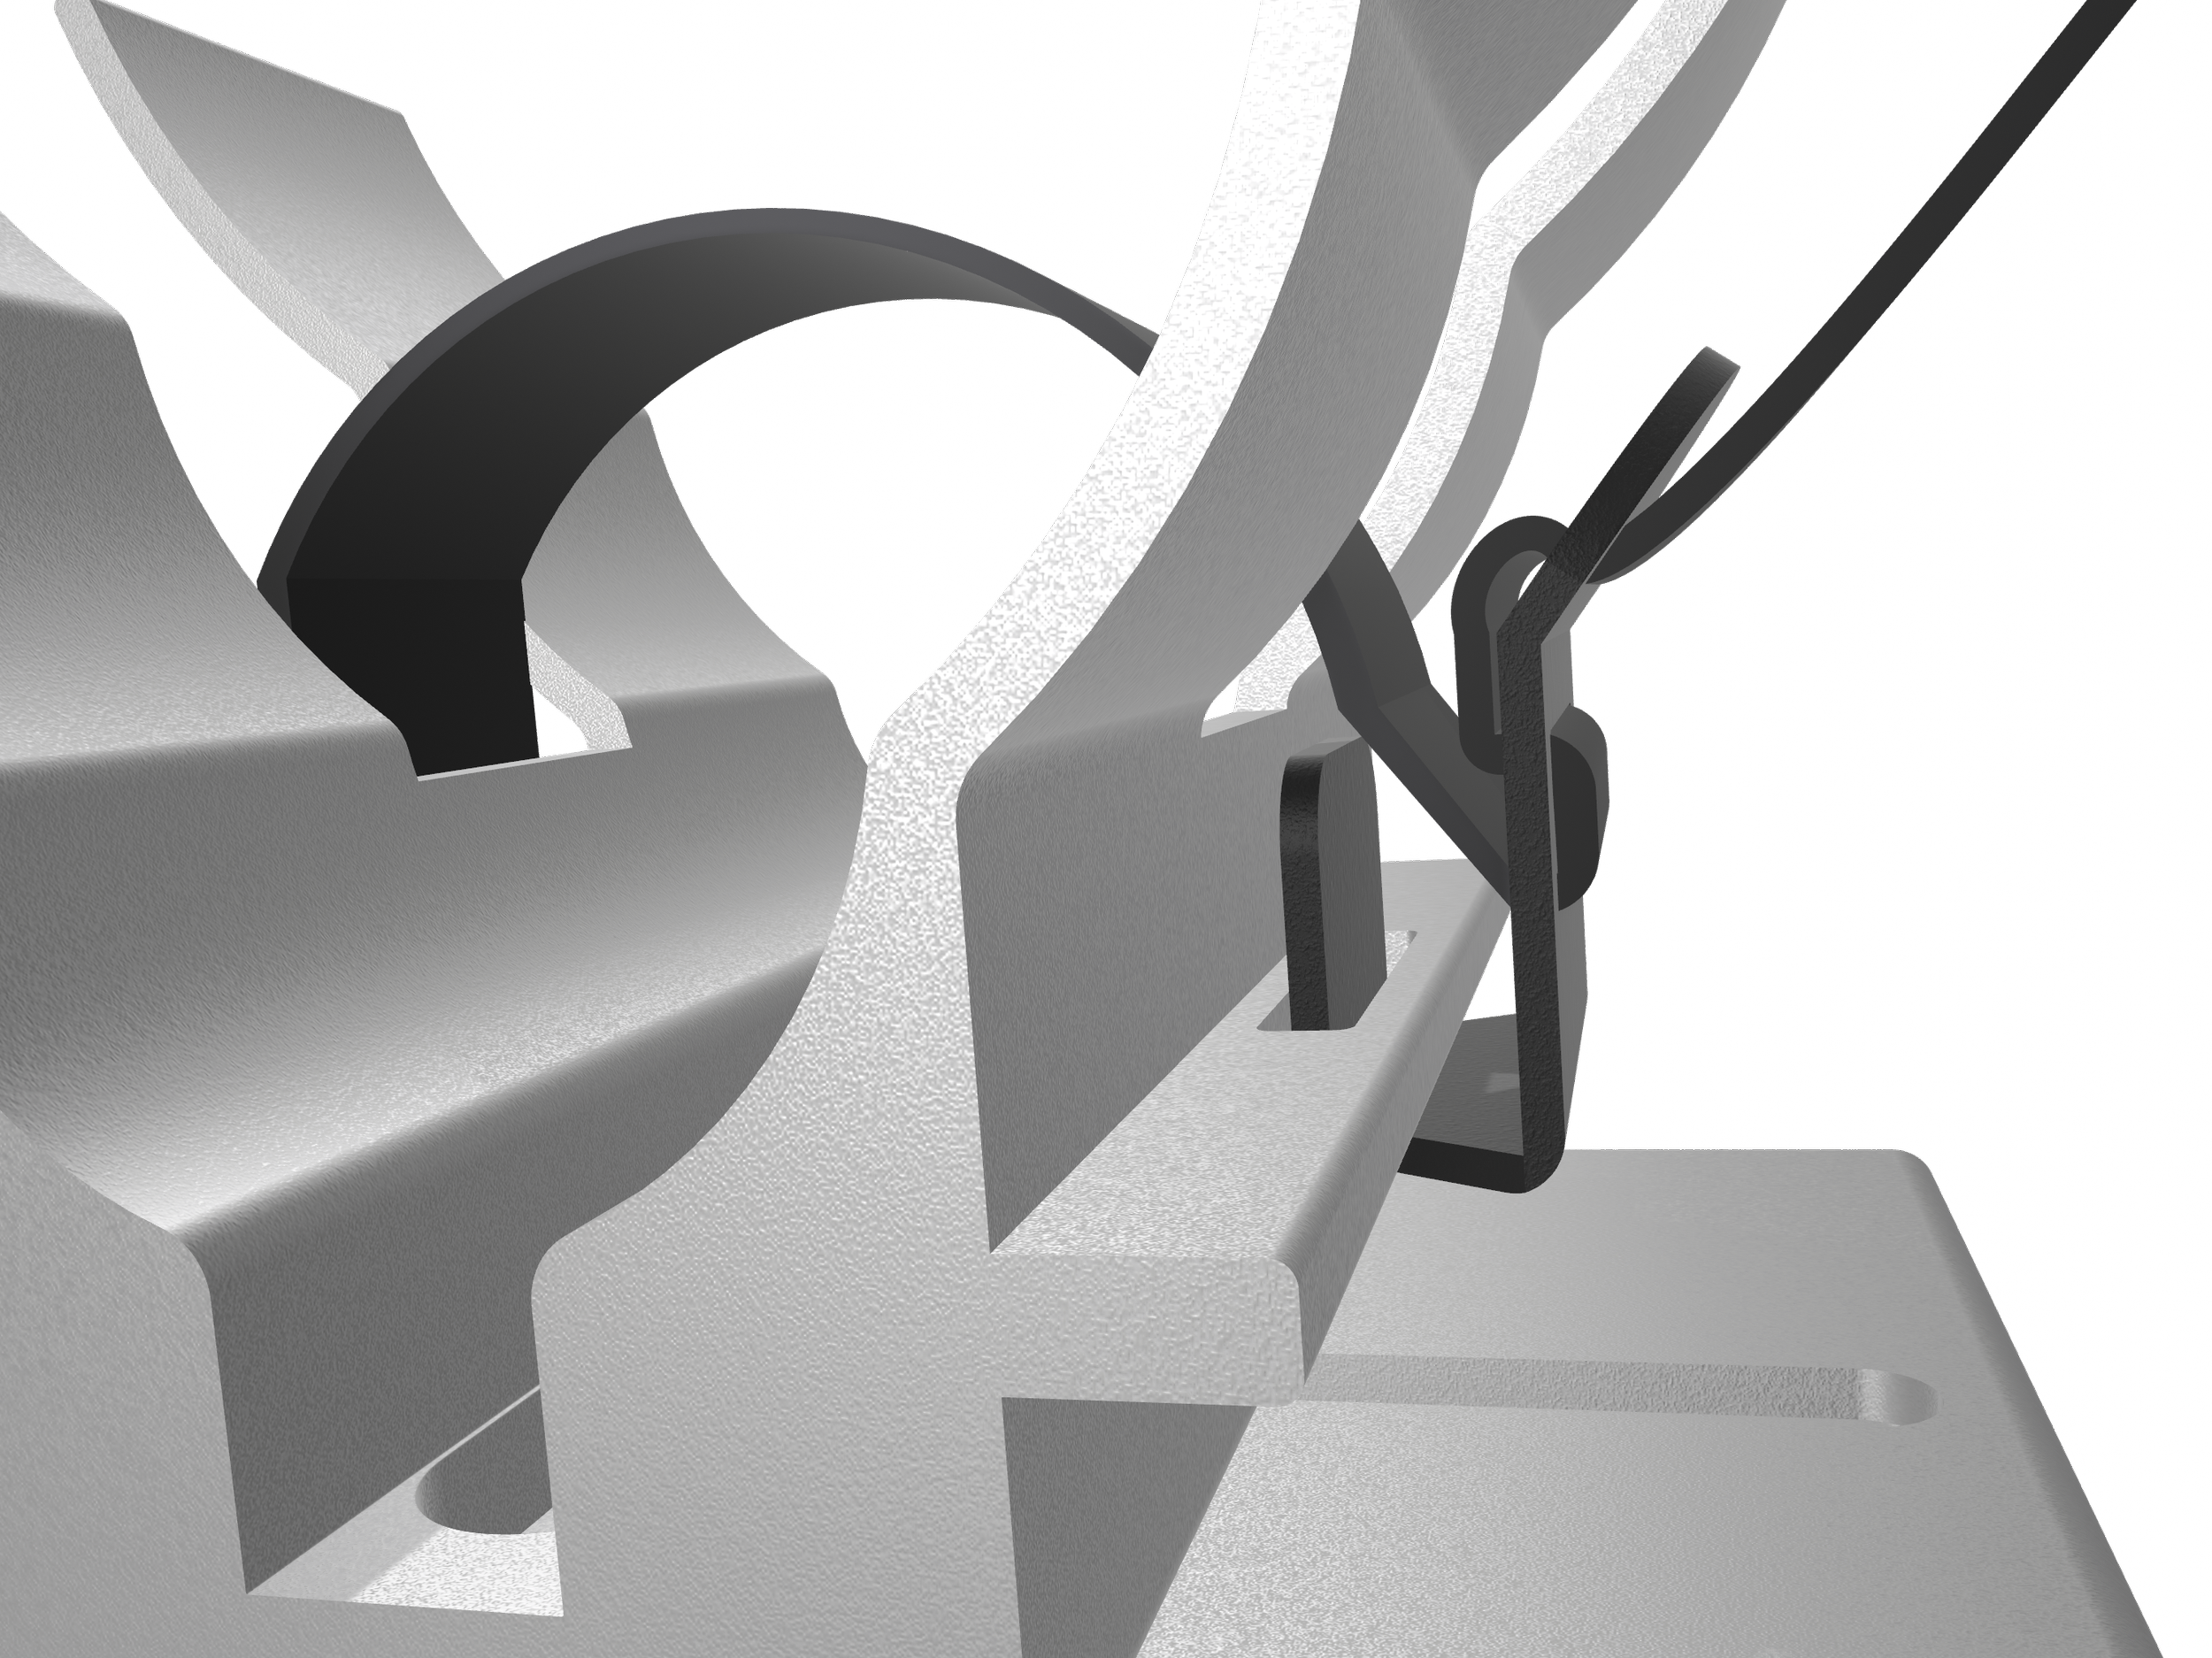
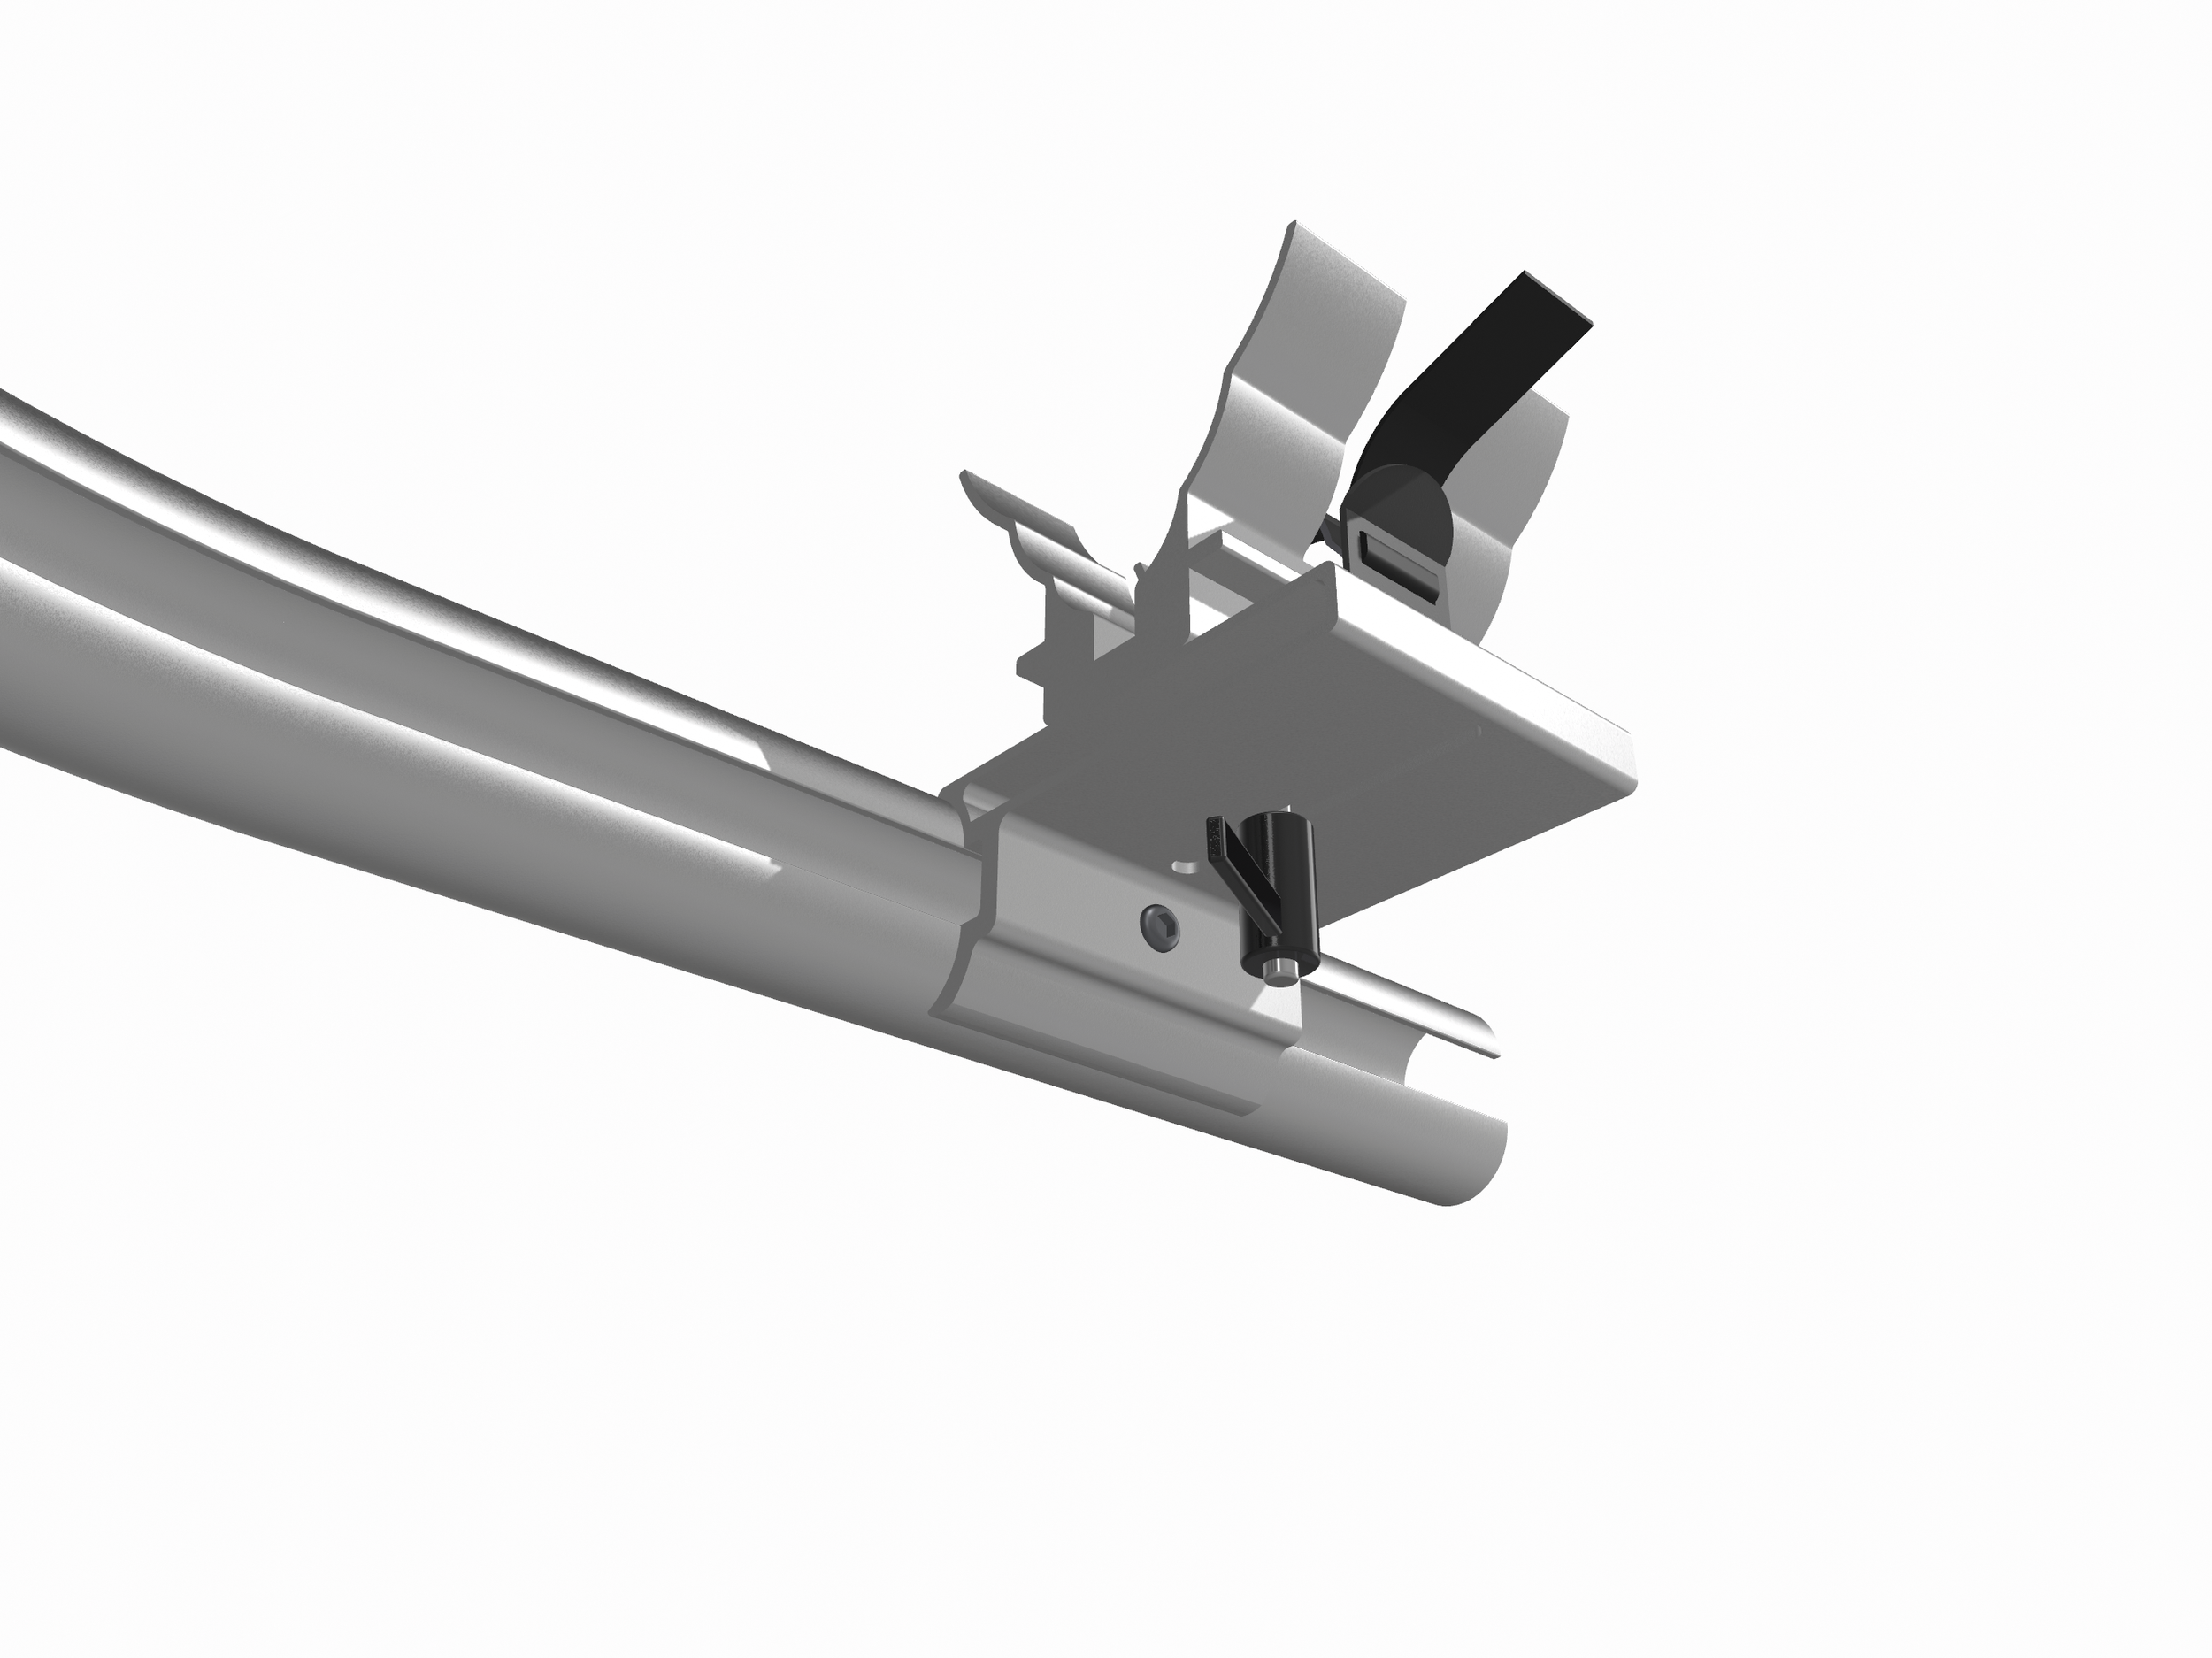
Lace the desired strap through the slot on one side of the wheel holder, then again through it’s silver loop, securing it on one side of the wheel holder.
Re-lace the strap through the buckle as pictured. The strap must pass through all three buckle slots as demonstrated.
To tension the strap onto the wheel, pull the excess strap upward.
To loosen the strap, pull outward on the thumb tab
Adjust the wheel holder position
Bicycles have various widths and wheel base lengths. Your bike rack can accommodate most of them.
Loosen the wheel assembly’s lever to select the desired fore-aft and side-to-side position for you bicycle. You may also angle the front wheel if needed. Retighten the lever.
Loosen the bolt to change the fore-aft position of the entire wheel assembly. Retighten the bolt to secure the wheel assembly in the desired position.
Loading bicycles
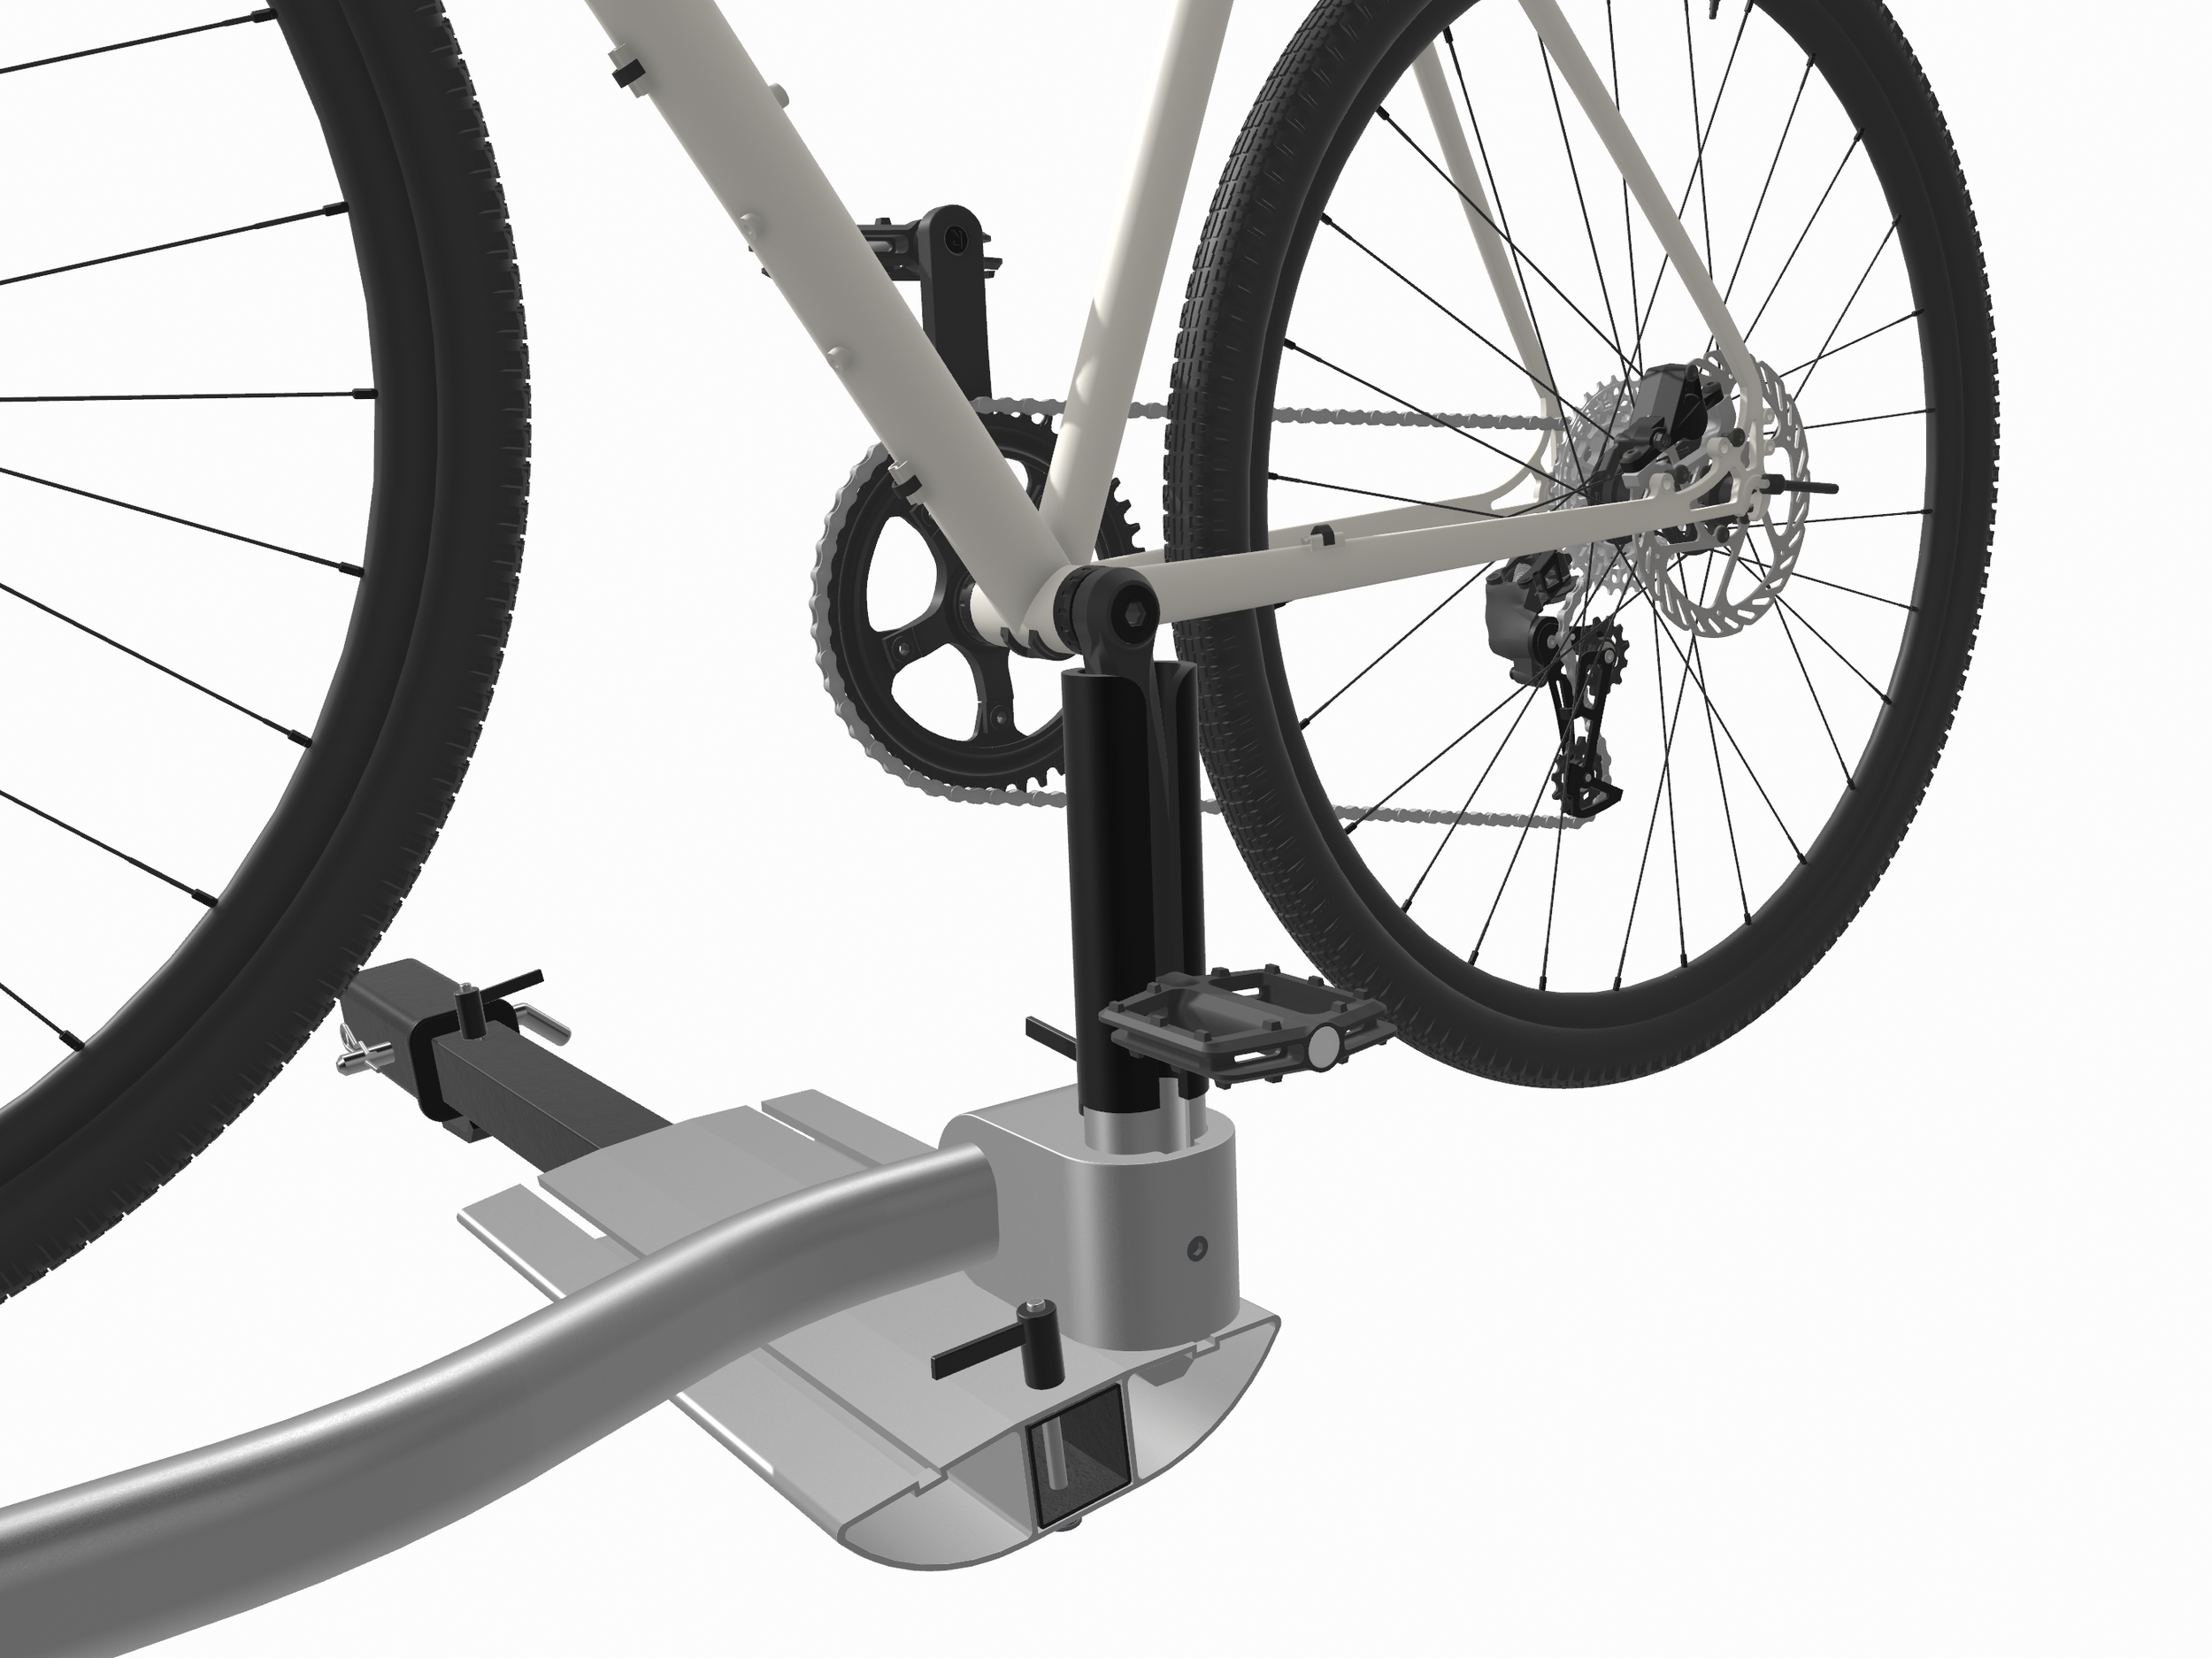
With the pedal on the outside and the crank on the inside, drop the crank into the slot in the crank holder. The pedal axle rests in the channel and the crank rests in the rubber crank holder.
Wrap the strap through the spokes and over the rim and tire. Hook the flat hook into the slot in the wheel holder. Pull the end of the strap until the wheel is securely fastened and the strap is tensioned well.
Folding your bike rack for portability and compact storage
You can store you bike rack as individual parts, which is the lightest way to manage them. If you want to remove the store the rack as one unit first remove the frame lever and slide the rack outward on the receiver tube allowing you more space to the vehicle.
Then, swing each bike carrier anti-clockwise while sliding the inside carrier backward. Make the carriers adjacent and parallel then retighten the bike carrier levers.


